
Browse and buy
all CS2 skins
Connect with top partner marketplaces and instantly access the best offers across multiple platforms for safe and reliable skin purchases.
Latest Skins
Consumer Grade SMG
MP9
Bee-Tron
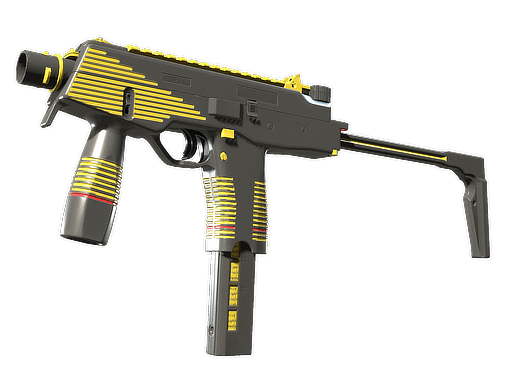
$0.01 — $1.20

Price range for
a common skin
a common skin
Found in 0 containers
40.7K offers on 26 markets
Consumer Grade SMG
PP-Bizon
Thermal Currents
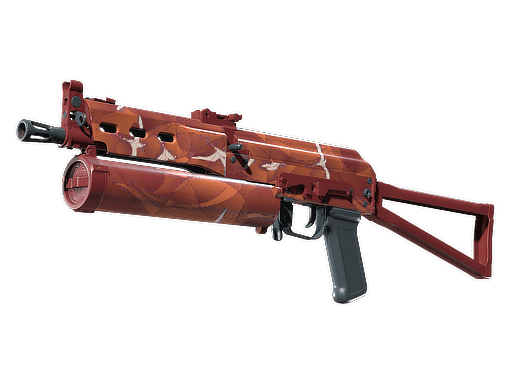
$0.01 — $0.38
Price range for
a common skin
a common skin
Found in 0 containers
37.2K offers on 21 markets
Consumer Grade Shotgun
Sawed-Off
Crimson Batik
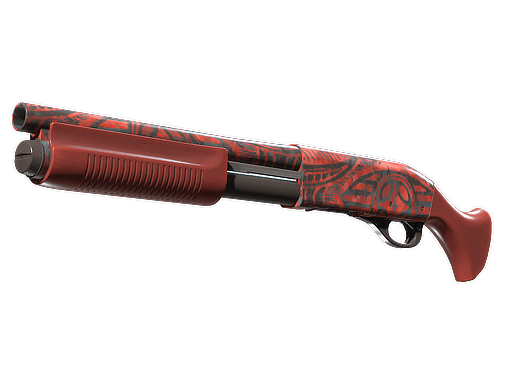
$0.01 — $1.94
Price range for
a common skin
a common skin
Found in 0 containers
35.4K offers on 21 markets
Consumer Grade Pistol
CZ75-Auto
Honey Paisley
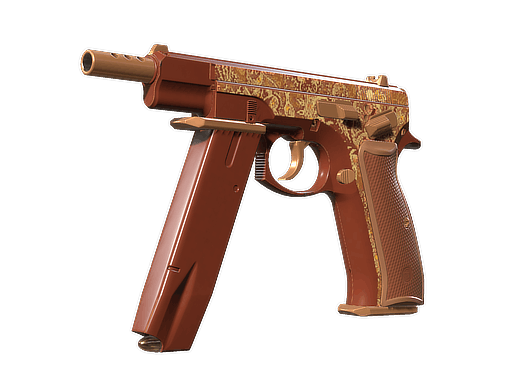
$0.01 — $70.00
Price range for
a common skin
a common skin
Found in 0 containers
35.2K offers on 21 markets
Best Prices
Consumer Grade Sniper Rifle
Souvenir available
SCAR-20
Contractor
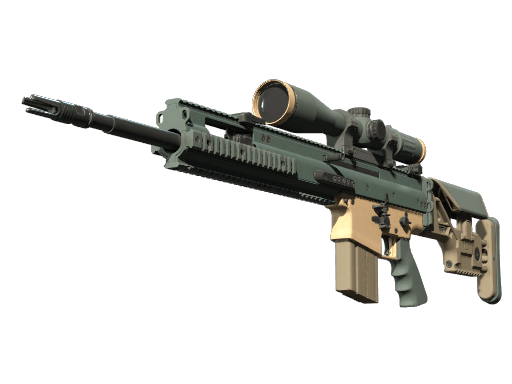
$0.01 — $1.06
Price range for
a common skin
a common skin
$11.05 — $100.69
Price range for
a souvenir skin
a souvenir skin
Found in 2 containers
223.2K offers on 29 markets
Industrial Grade Pistol
Souvenir available
Desert Eagle
Tilted
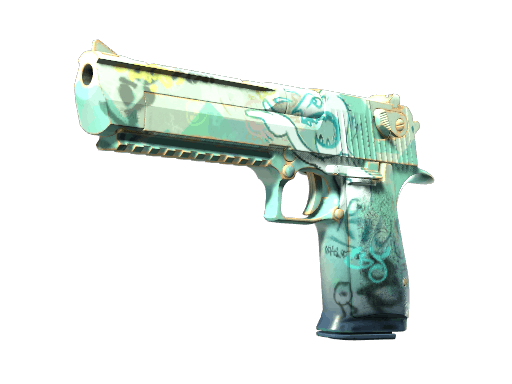
$0.06 — $4.62
Price range for
a common skin
a common skin
$0.27 — $9.86
Price range for
a souvenir skin
a souvenir skin
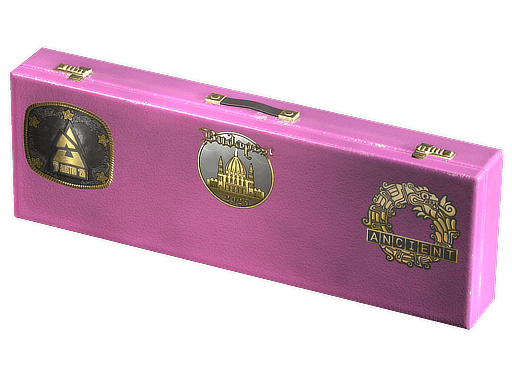 Budapest 2025 Overpass Souvenir Package
221.1K offers on 29 markets
Consumer Grade Sniper Rifle
Souvenir available
G3SG1
Desert Storm
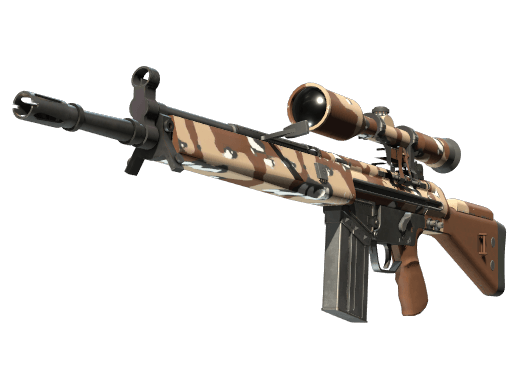
$0.01 — $3.46
Price range for
a common skin
a common skin
$0.16 — $217.33
Price range for
a souvenir skin
a souvenir skin
Found in 11 containers
211.6K offers on 27 markets
Industrial Grade Rifle
Souvenir available
M4A1-S
Wash me plz
$0.05 — $3.00
Price range for
a common skin
a common skin
$0.20 — $4.68
Price range for
a souvenir skin
a souvenir skin
Budapest 2025 Overpass Souvenir Package210.6K offers on 29 markets
