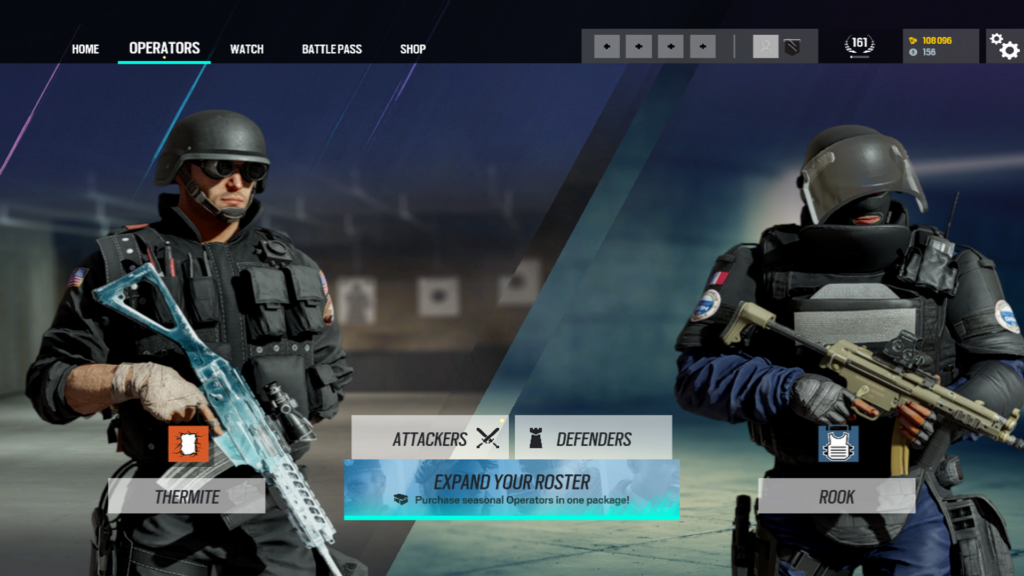
Rainbow Six: Siege is one of the leading strategy games today, but it’s still an FPS game, so training and aiming preparation are always recommended to achieve peak performance. There’s also fundamentals you need to know. In this article we will go over the details you need to know to put yourself in an advantageous position whether attacking or defending.
Contents
Defense
Bombsite Support
One of the easier roles for beginners in the game, as it doesn’t demand an in-depth knowledge of the map for movement. However, you’ll still need to know the best spots for positioning since some floors are destructible and can leave you vulnerable. Invariably, if you want to help your team even without a lot of game knowledge, use the operator Rook. You can start the match by placing your ability on the ground for your teammates to pick up their armor plates. Another option is to use operators with shotguns and position yourself near doors, windows, and walls already destroyed by the enemy. A good option in this case is an operator like Mute, who also has C4.
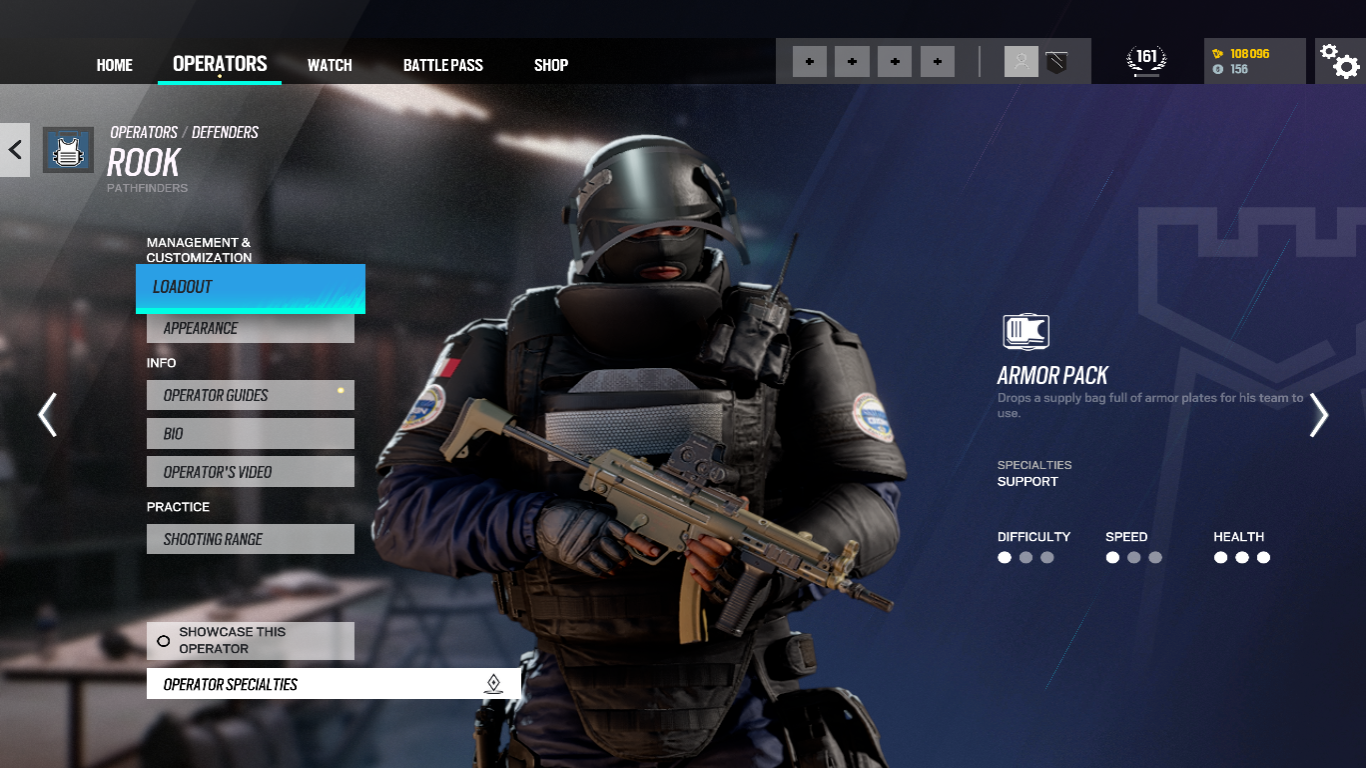 Rook is a great option for beginners. Credit: Ubisoft
Using C4
C4 is an explosive gadget which, when used correctly, can create favorable situations for you and your team. One possibility is to use the operator located inside the bomb site and deploy it when you have information about a specific position or when you hear the enemy planting the defuser. Another way to use it is to position the C4 underneath a point where you know the enemy will be, but you’ll need a camera to have precise information on when to trigger the C4.
Playing with the Shield
The shield is one of the primary defensive gadgets for aggressive use, as it has parts that are visible and not completely enclosed. The shield can be used in two ways. One is to attach it to a wall, door or column, where you can extend the attacker’s line of sight, forcing the opponent to use more abilities or gadgets to remove you from that position. The second way is to position it close to a wall, door or column, but this time it won’t be attached, leaving a space for you to shoot while making it much harder for the attacker to hit you. However, you need to place it near a location where, if you miss your shots, you can switch to another position, preferably one that maintains the advantage, like lying down with your crosshair at the door or window; making it harder for the opponent to aim at you on the ground and giving you a few seconds of an advantage.
Lurker
The Lurker’s role is easy to explain but challenging to execute. The player stays away from the bombsite, attempting to delay the opposing attack. There are two ways to play this role: a player who constantly attracts attention, forcing the attackers to waste time dealing with them and a player who avoids drawing attention until the late round, then surprises the attackers. In any case, the Lurker always uses operators with abilities that aren’t very useful in the final moments of the round. For example, Vigil, who can hide from drones, or Solis, who can locate enemy drones, which are less relevant in the last seconds of the game. Alternatively, they use operators who can deploy their abilities at the beginning of the round and then operate without as much utility.
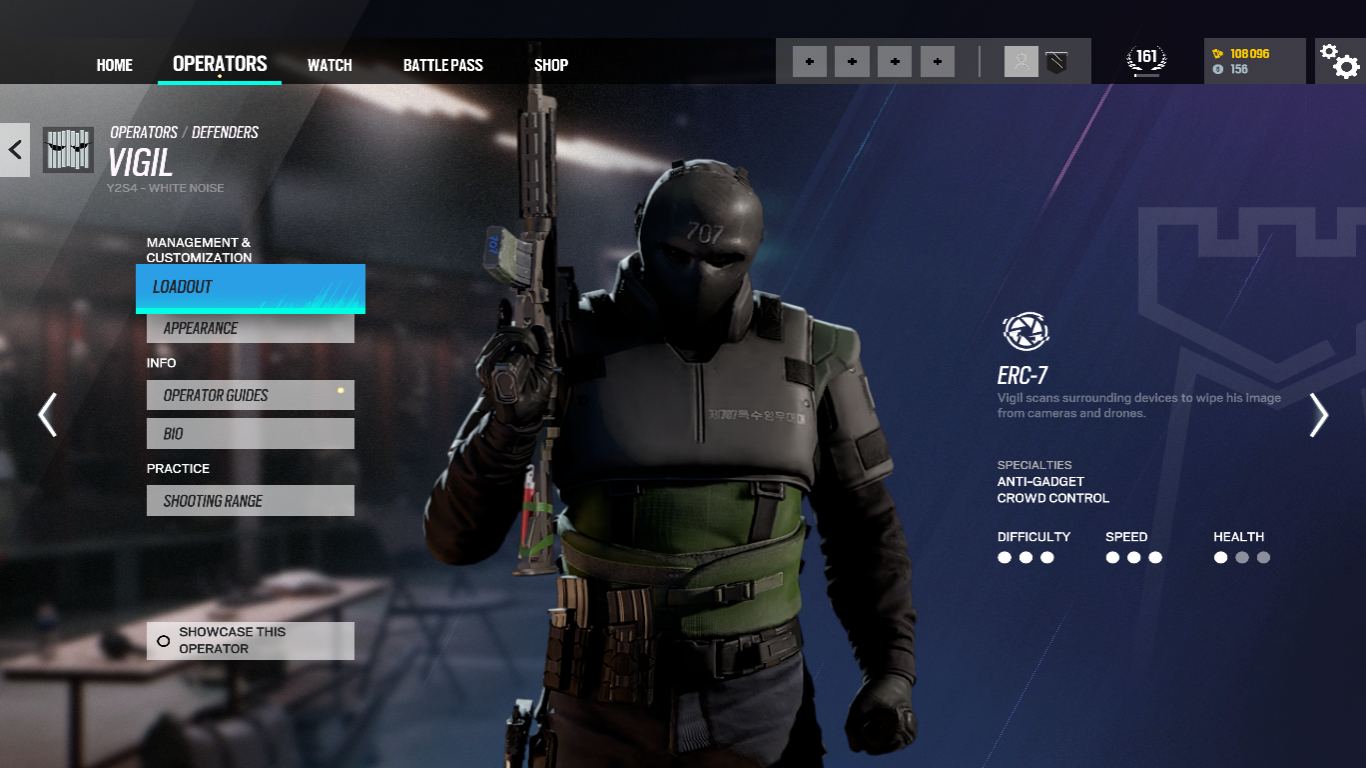 Vigil is an example of a lurker in game. Credit: Ubisoft
Other Options
There are specific operators who work better on certain maps or styles of play. A primary example of this is the operator Warden who, when using his ability, won’t be blinded by flashes and can also see through smoke. These options are highly specific to the type of defense style you want to play, making their use variable.
How to Determine Wall Reinforcement
One common mistake among newer players is reinforcing walls between bomb sites. Under no circumstances should you seal off the entire wall separating bomb A from bomb B. Sometimes it might be necessary to close one, but this is a strategic decision that comes with experience. At the beginning of the game, focus on reinforcing hatches that provide access to the bomb site and walls that protect the bomb but aren’t connected to the other bomb site.
Attack
Map Control
Hunt is a playstyle used by players who prefer to engage in fights, seeking action by hunting the lurker. These players are typically the first to engage and coordinate their attacks, relying on support drones and another player to hunt opponents down, surrounding the defender’s other escape route. This strategy is very useful for clearing spaces and making the attacker’s final job easier.
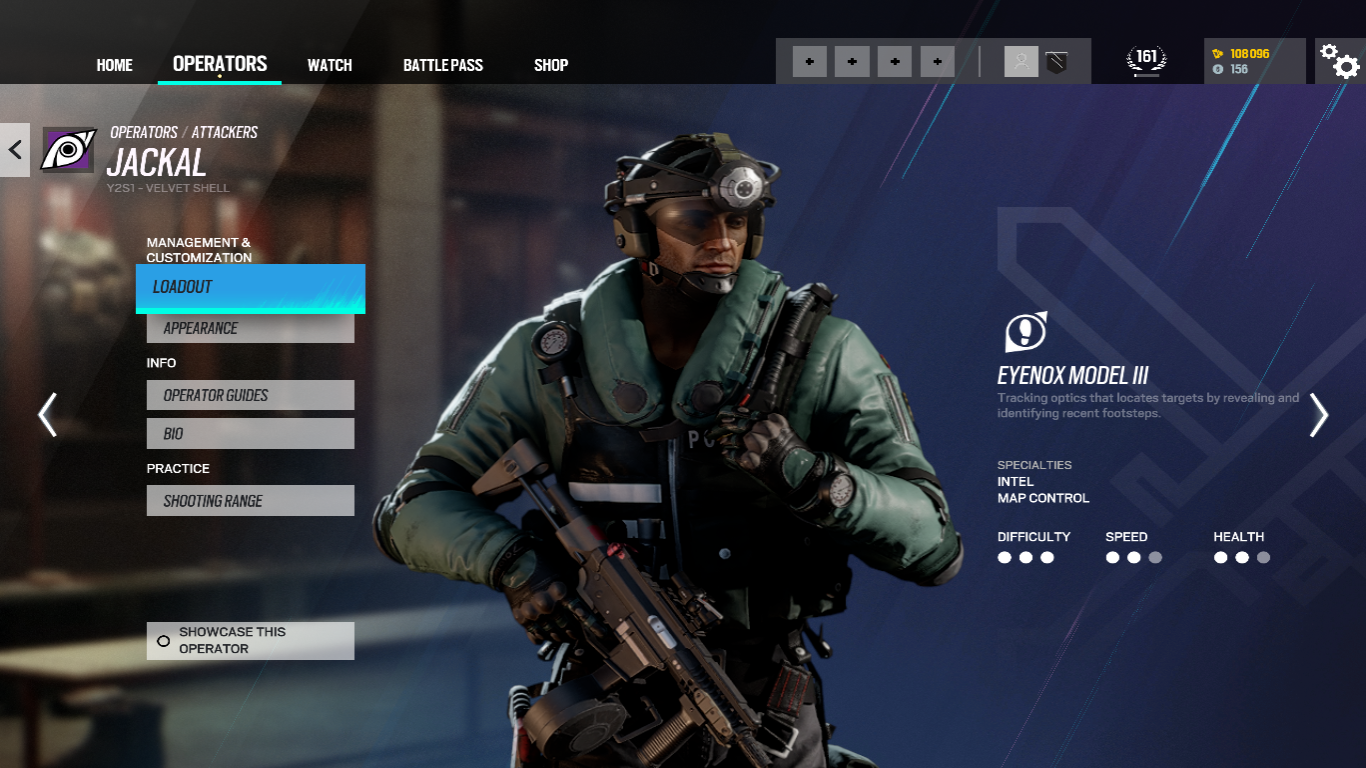 Jackal is an example of an operator who can be used to take map control. Credit: Ubisoft
Support
Just like in defense, Support in Attack is highly recommended for beginner players who have little familiarity with the game. In most cases, supports use operators with Hard Breacher skills, meaning they can break down any walls, floors, or doors that are destructible, including reinforced ones. Their playstyle is slower, as they’re in charge of advancing the attack to eliminate and clear the team of potential lurkers, spending a good portion of their time on the drone.
Ways to Use Your Drones
Support relies heavily on their drones, so it’s crucial that they gather information while trying to keep the drone alive during the preparation phase. After communicating with their team and deciding which side the attack will be executed from, the support will leave their drone closer and, as soon as the round starts, position it safely closer to the map. Allowing them to use the drone to help clear spaces and progress the game. Another way to use it is to place the drone in a specific location to prevent someone from attacking from behind, which is also one of the support’s objectives’ staying vigilant.
Flex
Here, you have more flexible operators for the attack, with gadgets that are more functional in providing the team with control over the entire map. One of the main examples is Nomad, an operator who can position her gadget at certain rotation points of the defense. It will knock down the defender and make a noise, alerting the attacker nearest the explosion. Sledge and Thatcher also fall into this category, with Sledge breaking walls, doors, and destructible floors, and Thatcher destroying defensive electronic gadgets in proximity, like Mute, Kaid, and Bandit’s abilities, which prevent the explosion of reinforced walls or hatches with hard breach.
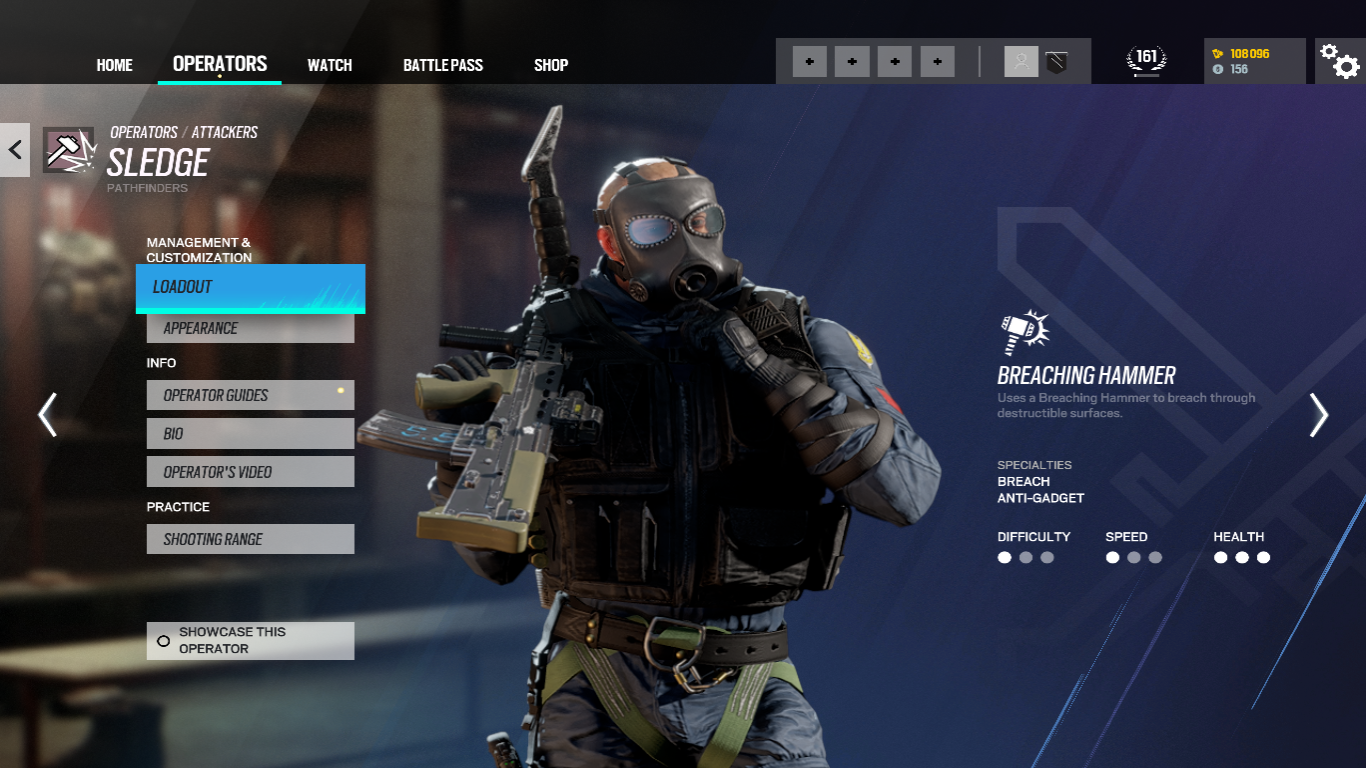 Sledge is a character who can help shape the battlefield for the attackers. Credit: Ubisoft
Where to Place the Claymore
The best and most suitable places to position the claymore are when rappelling, placing it in front of a door or window where the defender might jump to eliminate the attacker who will be looking elsewhere. Another option for the claymore is at the top of a staircase, either on the side or in front of the stairs, to catch the defender off guard while moving.
How to Use the Frag Grenade
Certainly the biggest terror for beginners in Rainbow Six, but there is a way to improve your performance with frags. Enter a custom game to practice, pick any operator with a frag grenade. If you notice, when you pull it out, there will be a special sight on your screen that flashes faster and faster. It explodes around the 10th flash, but this information will hardly be 100% accurate, and in the final moments before the grenade explodes, it won’t make a difference. The recommendation is based on playstyle; if you’re going to throw a frag grenade from bottom to top, count to the 7th flash and then throw it. However, if the target is farther away, you can reduce the time you hold it in your hand. It’s well worth practicing and becoming familiar with the frag grenade to avoid mistakes which can compromise your team.
BLIX hopes these tips will help you begin to learn the game and understand the complex strategy of Rainbow Six: Siege


