
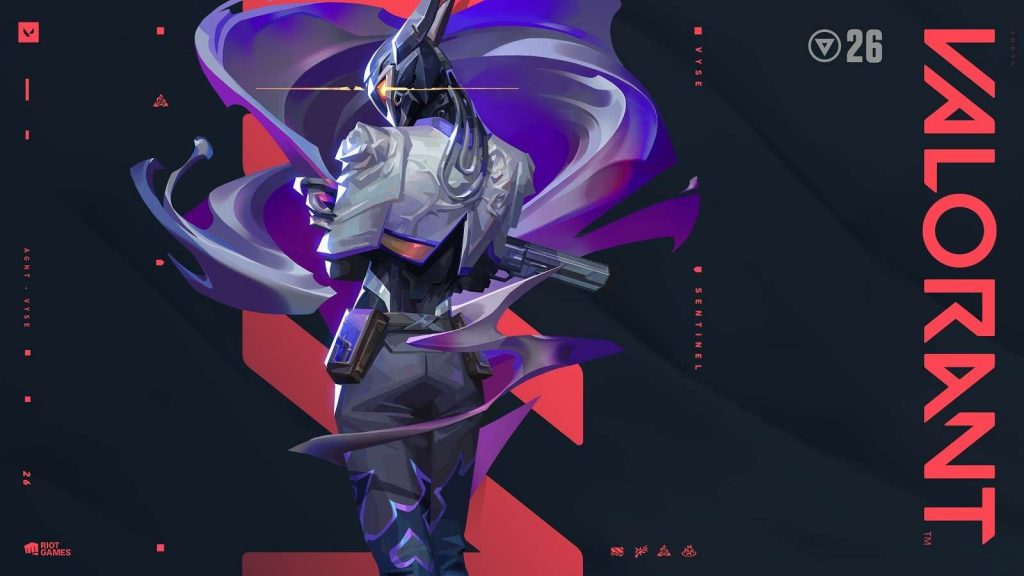
Welcome to the ultimate Vyse playbook, brought to you by the Blix team—where brains meet bullets. We often analyze Agent’s specifics: like about Ace or about Waylay. This time – welcome Vyse.
A player may be just unlocking Valorant’s best (we’ll explain why) Sentinel or looking to level up their map control game – everything counts. This deep-dive delivers everything needed to transform Vyse from a niche pick into a nightmare for the enemy team. We’ve broken down her abilities, revealed top-tier map setups, exposed underrated tricks, and compared her to the old Sentinel guard.
This isn’t just a guide—it’s a blueprint for psychological warfare. So if a player’s tired of stale turret camping and wants to trap enemies in setups so smart it’s almost unfair, then keep reading. We made this for the masterminds.
Contents
Highlights
- General description of the Agent, her strengths and weaknesses
- Specific advice for offensive and defensive setups
- Breakdown of all her Abilities, with tips to use
- Maps tiers for Vyse: strategies and advice for each
- Additional: Vyse FAQ about unevident or misused features
The Mind Behind the Madness: Understanding Vyse’s Playstyle
Vyse is Valorant’s fresh take on the Sentinel class—a control freak with flair. Unlike her more traditional peers who focus on locking down sites with static utility, Vyse thrives on manipulating the flow of combat in real-time. Her playstyle is a tactical blend of trap setting, intel gathering, and mid-fight disruption, making her perfect for players who like to outthink rather than outaim their opponents.
She’s not just a wall in your way; she’s the reason you don’t even realize you’re being herded like sheep into the slaughter. Vyse’s biggest strengths lie in her versatility and proactive utility—Arc Rose gives her safe information plays, Shear isolates targets without warning, Razorvine stalls rushes, and Steel Garden turns teamfights on their heads by neutralizing the enemy’s firepower.
Still, Vyse isn’t without her weaknesses. She lacks hard-lock utility like Killjoy’s turret or Cypher’s camera and can’t heal like Sage, meaning she doesn’t bring much in passive support or stall unless used creatively. Her abilities also require strong map knowledge and coordination to get value—throwing them randomly is like tossing candy into a warzone. But in the hands of a clever player? Vyse is the storm before the execution. The trap the enemy didn’t see coming. The mind behind the madness.
TL;DR: Why Vyse Stands Out
- Better at active site defense than Cypher or Killjoy.
- More flexible and team-friendly than Chamber.
- More disruptive and intel-rich than Deadlock.
- Stronger post-plant control than Sage (and no, she can’t revive every round).
Vyse is the thinking player’s Sentinel—less about setting and forgetting, more about reading the round and punishing the plan. A Swiss army knife with fangs.
Offensive and Defensive Setups

Defensive Play
Lock It Down, Make Them Regret It
- Choke Control with Shear:
Place Shear in common entry points (like A Main on Ascent or C Long on Haven). It doesn’t just detect enemies—it cuts them off from audio and ally support, creating instant chaos. Combine this with a teammate swing for easy isolation picks. - Double Stack with Razorvine:
After triggering Shear, Razorvine punishes any attempt to push through. Use it just behind Shear’s line to shred disoriented enemies trying to brute-force their way in. - Bait-and-Switch Traps:
Place Shear at one entrance, then hold an off-angle or rotate early. The moment the trap pops, you’re already swinging or your team is collapsing. It turns a delayed reaction into a perfectly baited bloodbath.
- Arc Rose = Recon Tool:
Drop Arc Rose into chokepoints like Mid on Pearl or B Main on Ascent. Don’t even flash—wait and listen. The sound cue on contact means someone’s lurking. - Early Round Trap Info:
Use Shear and Arc Rose combo in the first 20 seconds to get map-wide reads. If both stay inactive? That’s free rotation info. If one trips? That’s where the hammer drops. - Retake Scout Tool:
After losing site, throw Arc Rose just outside the spike radius. Pre-flashing common angles (like Generator on Ascent or Back Site on Split) saves lives and clears the fog for your team’s entry.
Offensive Play
Break Sites, Win Rounds
- Pre-Entry Arc Rose Pop:
Before bursting into site, throw Arc Rose above common hold angles (like Default, Heaven, or Elbow). Pop-flash it right before your Duelist enters, giving them a clean entry path. - Crossfire Breaker:
Use Arc Rose to blind one half of a common crossfire—like Split B Site’s Back Site + Heaven hold. Flash one, swing both. It lets your entry fraggers take duels one at a time. - Double Utility Timing:
Coordinate your Arc Rose with team utility. Flash right after a Skye dog or Breach stun hits, and the enemy’s vision and hearing vanish together. They’re helpless.
- Razorvine on Spike = Free Delay:
Place it directly on or in front of the spike. Enemies trying to tap/defuse will take damage or be forced off. Pair it with audio cues to time peeks. - Shear in Retake Routes:
Throw Shear down one of the main retake lanes (like Defender Spawn or Heaven). The moment someone crosses, you know exactly where they are—and they can’t call for help - Retake Denial Combo
Pop Arc Rose as the enemy starts their push, then let Shear trigger during the chaos. Follow up with Razorvine to make their retake an actual nightmare.
Abilities Breakdown
A remote-activated flash that attaches to surfaces. Once triggered, it blinds enemies in line-of-sight and plays a unique sound cue if it hits anyone.

Use Cases:
- Checking tight corners (A Short on Bind, Garage on Haven).
- Delaying a push mid-round with a pop flash.
- Flashing during a post-plant hold to stop defuse attempts.
Place it around corners at eye level. Blind timing is more reliable this way.
Hints
Listen for the sound cue—it’s a free recon ping.
Combo with teammates peeking from the opposite angle for a guaranteed punish.
An invisible laser tripwire wall that activates when enemies cross it. They’re temporarily “cut off” from audio and allies, giving you a window to isolate and punish.
Use Cases:
- Watching flank paths without sacrificing bodies.
- Stopping rushes through tight corridors.
- Creating 1v1 isolation fights mid-round.
Place in common mid-round paths (like Split’s Mid or Ascent’s Catwalk).
Hints
Don’t stack it too close to the site. Set it further back to trigger before contact.
Time a peek or flash after it triggers—players are disoriented and alone.
A nest of nasty brambles that expands on impact, slowing and damaging any enemy moving through it. Think of it as a more vengeful Sage slow.

Use Cases:
- Baiting players into peeks while they’re stuck
- Chokeholds and spike plants.
- Buying time during rotations.
Toss one at spike after planting—hello, free seconds.
Hints
Double up with Shear or Arc Rose to punish movement.
Use on high-traffic lanes like Pearl B Long or Bind A Short.
A colossal dome that disables primary weapons for all enemies inside it. They’re stuck with pistols, melee, or abilities. Lasts a few seconds.
Use Cases:
- Stalling enemy executes during a slow push.
- Popping it mid-retake to give your team the upper hand.
- Defending a spike plant when you’re outnumbered.
Commuanicate before popping it—your teammates need to push inside while they can.
Hints
Use it where enemies are grouped (like Bind A Site or Haven C Site).
Follow up with Razorvine or Shear to trap disarmed players like scared rats.
Maximize Vyse’s impact by combining her abilities:
- Shear + Razorvine: Trap enemies with Shear and punish them with Razorvine as they attempt to retreat.
- Arc Rose + Push: Blind enemies with Arc Rose and coordinate team pushes while they’re disoriented.
- Steel Garden + Retake: Activate Steel Garden during retakes to disable enemy primaries, giving your team an advantage.
Most Vyse Maps and Strategies
| Tier | Maps |
| S | Ascent, Split, Haven |
| A | Sunset, Bind, Pearl |
| B | Lotus, Fracture |
| C | Breeze, Icebox |
Ascent
- A Main Arc Rose: Deploy Arc Rose in A Main to blind and gather information on incoming attackers, giving your team a tactical advantage.
- B Site Razorvine: Position Razorvine at B Main entrance to slow down enemy pushes, allowing your team to reposition or reinforce the site.
- Mid Control with Shear: Place Shear across Mid to detect and delay enemy rotations. This setup provides early intel and disrupts fast-paced strategies.

Split
- A Ramp Arc Rose: Place Arc Rose on a ramp to blind advancing enemies, disrupt their push, and provide your team with an opening.
- Mid Vent Shear: Utilize Shear in Mid Vent to monitor and hinder enemy movements through this crucial chokepoint.
- B Heaven Razorvine: Deploy Razorvine in B Heaven to control vertical space and prevent enemy ascents.
Haven
- A Site Razorvine: Position Razorvine at A Short to slow down enemy advances, giving your team time to rotate or set up crossfires.
- Garage Control with Shear: Set up Shear in Garage to detect and delay enemy flanks or pushes through this area.
- C Long Arc Rose: Use Arc Rose in C Long to gather intel and blind enemies attempting to take control of this long-range engagement zone.
Sunset
- A Site Arc Rose: Use Arc Rose on A Site to blind enemies during retakes or to support aggressive holds.
- Mid Control with Shear: Place Shear in Mid to monitor and disrupt enemy rotations, providing valuable information to your team.
- B Main Razorvine: Deploy Razorvine in B Main to hinder enemy pushes and control this key entry point.

Bind
- B Site Razorvine: Position Razorvine at B Long entrance to slow down enemy advances, providing your team with control over the site.
- Hookah Shear: Set up Shear in Hookah to detect and delay enemy pushes, allowing your team to respond effectively.
- A Short Arc Rose: Deploy Arc Rose in A Short to blind and gather intel on incoming attackers, disrupting their momentum.
Pearl
- A Main Razorvine: Deploy Razorvine in A Main to control enemy pushes and maintain map control.
- Mid Plaza Shear: Utilize Shear in Mid Plaza to monitor enemy movements and prevent quick rotations.
- B Site Arc Rose: Place Arc Rose on B Site to blind enemies during site executions, aiding in defense or retake scenarios.

Lotus
- C Site Arc Rose: Use Arc Rose on C Site to blind enemies during retakes or to support aggressive plays.
- A Main Shear: Set up a Shear in A Main to detect and delay enemy advances through this primary entry point.
- B Site Razorvine: Deploy Razorvine on B Site to control enemy movements and support defensive holds.

Fracture
- Mid Arc Rose: Use Arc Rose in Mid to gather intel and disrupt enemy rotations through the central area.
- A Dish Shear: Place a Shear in A Dish to monitor enemy flanks and prevent surprise attacks.
- B Arcade Razorvine: Deploy Razorvine in B Arcade to slow down enemy pushes and control this key area.
Breeze
- B Site Arc Rose: Use Arc Rose on B Site to blind enemies during retakes or to support defensive holds.
- A Hall Shear: Set up Shear in A Hall to monitor enemy movements and provide early warnings.
- Mid Pillar Razorvine: Deploy Razorvine near Mid Pillar to control enemy rotations and support mid control.

Icebox
- Mid Arc Rose: Use Arc Rose in Mid to gather intel and disrupt enemy rotations through the central area.
- B Green Shear: Place Shear in B Green to detect and delay enemy pushes through this area.
- A Site Razorvine: Deploy Razorvine on A Site to control enemy movements and support defensive setups.

FAQ: inevident, misunderstood, or less used features
Can Shear be seen or destroyed by enemies?
Nope—and that’s the beauty. Shear is completely invisible and indestructible until triggered. Unlike Cypher’s tripwires, there’s zero visual giveaway unless the enemy trips it. That means you can confidently use it in aggressive mid-map zones or even in enemy territory to catch rotations off guard. It’s essentially a ghost alarm, and it always rings when it matters.
Can Arc Rose be reused or repositioned after placement?
Yes! This is a massive bonus most players overlook. If Arc Rose doesn’t trigger, you can pick it back up and redeploy it somewhere else—like a KAY/O flash with a longer leash. This allows Vyse to set early map control traps and then reposition the utility mid-round depending on how the round unfolds. Think of it like leaving a landmine you can always retrieve and move.
Does Razorvine only work as a delay tool?
Not even close. While it’s great for delaying pushes, Razorvine deals damage over time while enemies move. So it’s perfect for chokepoint punishes and post-plant stall. But here’s the kicker: if you combo it with Shear or an ally’s stun, players often can’t move at all, letting Razorvine slow-roast them alive in place. It’s a trap, a deterrent, and a finisher all in one.
Can Steel Garden (Ultimate) be used preemptively?
Absolutely—and it should be. Don’t wait until bullets are flying. Just before an enemy executes Pop Steel Garden, five very confused attackers are storming a site with sidearms. It’s also excellent for forcing people off an angle. A long-range Operator duel becomes very one-sided when the other side’s sniper can’t even pull the trigger.
Does Vyse benefit from rotation-heavy play?
More than most Sentinels. Unlike Killjoy or Cypher, Vyse’s utility doesn’t need to be babysat or left behind. Arc Rose and Razorvine can be moved, and Shear provides passive value without physical presence. This means Vyse can rotate aggressively without neutering her team’s map control. She’s closer to a controller or support in this sense—always ready to reconfigure the battlefield.