
Browse and buy
all CS2 skins
Connect with top partner marketplaces and instantly access the best offers across multiple platforms for safe and reliable skin purchases.
Latest Skins
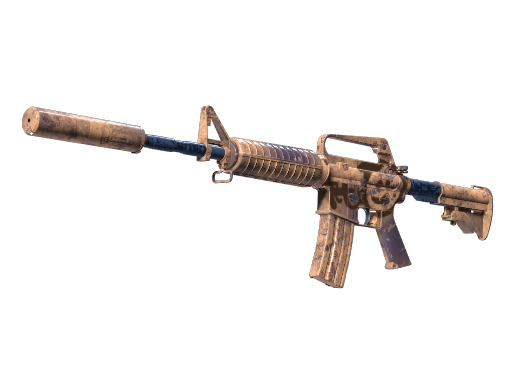
Mil-Spec Grade Rifle
StatTrak available
M4A4
Zubastick

$0.57 — $28.72

Price range for
a common skin
a common skin
$2.17 — $29.04
Price range for
a stattrak skin
a stattrak skin
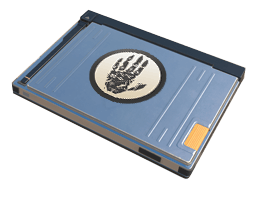 Sealed Dead Hand Terminal
1K offers on 14 markets
Mil-Spec Grade Machinegun
StatTrak available
M249
Bock Blocks
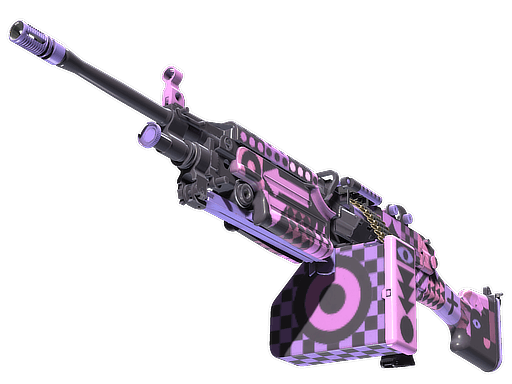
$0.42 — $6.02
Price range for
a common skin
a common skin
$0.54 — $70.27
Price range for
a stattrak skin
a stattrak skin
Sealed Dead Hand Terminal1K offers on 17 markets
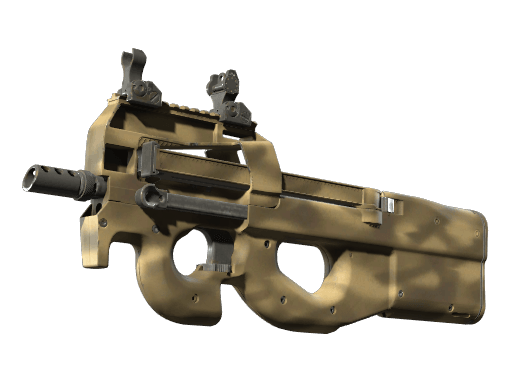
Mil-Spec Grade Pistol
StatTrak available
Five-SeveN
Dark Polymer
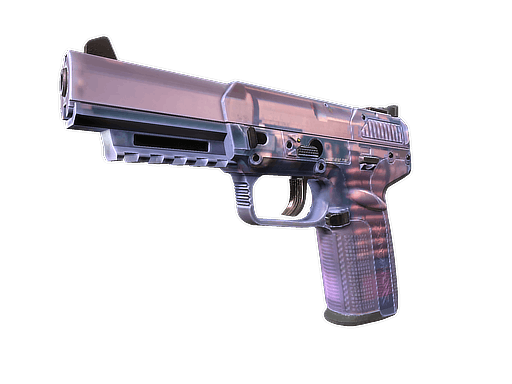
$0.51 — $30.36
Price range for
a common skin
a common skin
$1.00 — $140.53
Price range for
a stattrak skin
a stattrak skin
Sealed Dead Hand Terminal1K offers on 16 markets
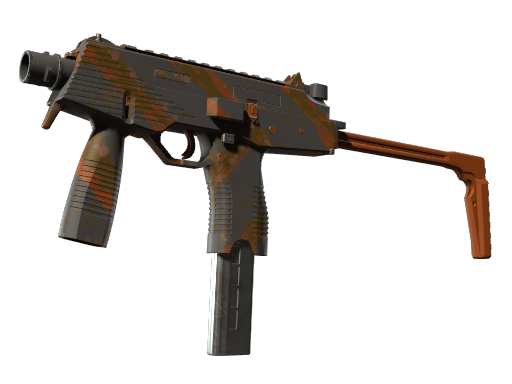
Mil-Spec Grade SMG
StatTrak available
PP-Bizon
RMX
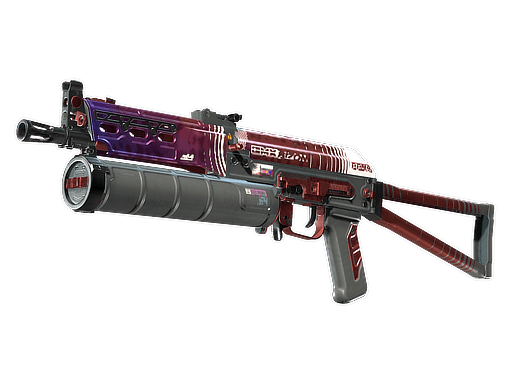
$0.45 — $158.62
Price range for
a common skin
a common skin
$0.92 — $28.89
Price range for
a stattrak skin
a stattrak skin
Sealed Dead Hand Terminal1K offers on 15 markets
Best Prices
Consumer Grade SMG
Souvenir available
MP9
Slide
$0.01 — $23.16
Price range for
a common skin
a common skin
$0.01 — $49.99
Price range for
a souvenir skin
a souvenir skin
Found in 11 containers
273.9K offers on 28 markets
Consumer Grade SMG
Souvenir available
P90
Sand Spray
$0.01 — $4,935.26
Price range for
a common skin
a common skin
$0.13 — $50.00
Price range for
a souvenir skin
a souvenir skin
Found in 11 containers
249.9K offers on 30 markets
Industrial Grade Pistol
Souvenir available
Desert Eagle
Tilted
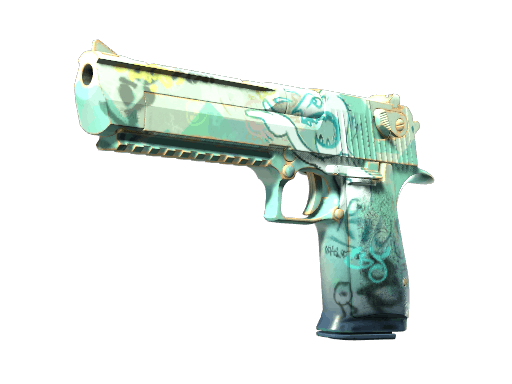
$0.04 — $4.61
Price range for
a common skin
a common skin
$0.27 — $15.00
Price range for
a souvenir skin
a souvenir skin
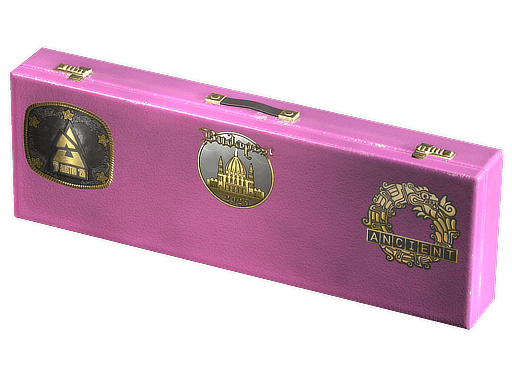 Budapest 2025 Overpass Souvenir Package
249.6K offers on 30 markets
Industrial Grade Rifle
Souvenir available
M4A1-S
Wash me plz
$0.04 — $34.62
Price range for
a common skin
a common skin
$0.17 — $4.64
Price range for
a souvenir skin
a souvenir skin
Budapest 2025 Overpass Souvenir Package227.5K offers on 30 markets
