
The Valorant ranked system allows players to queue up solo, or duo with another player in the higher elo brackets. It’s essential to learn how to maximize your playmaking potential with at least one other player in ranked. As you climb the ranks, you will not be allowed to queue with more than one player, making your synergy and playmaking capability with your duo crucial to winning games.
Read more: Best VALORANT agent duos for Bind
In this instance of the article, we’re going to be looking at the best Valorant ranked agent duos for the latest Valorant map released: Lotus.
Contents
Lotus
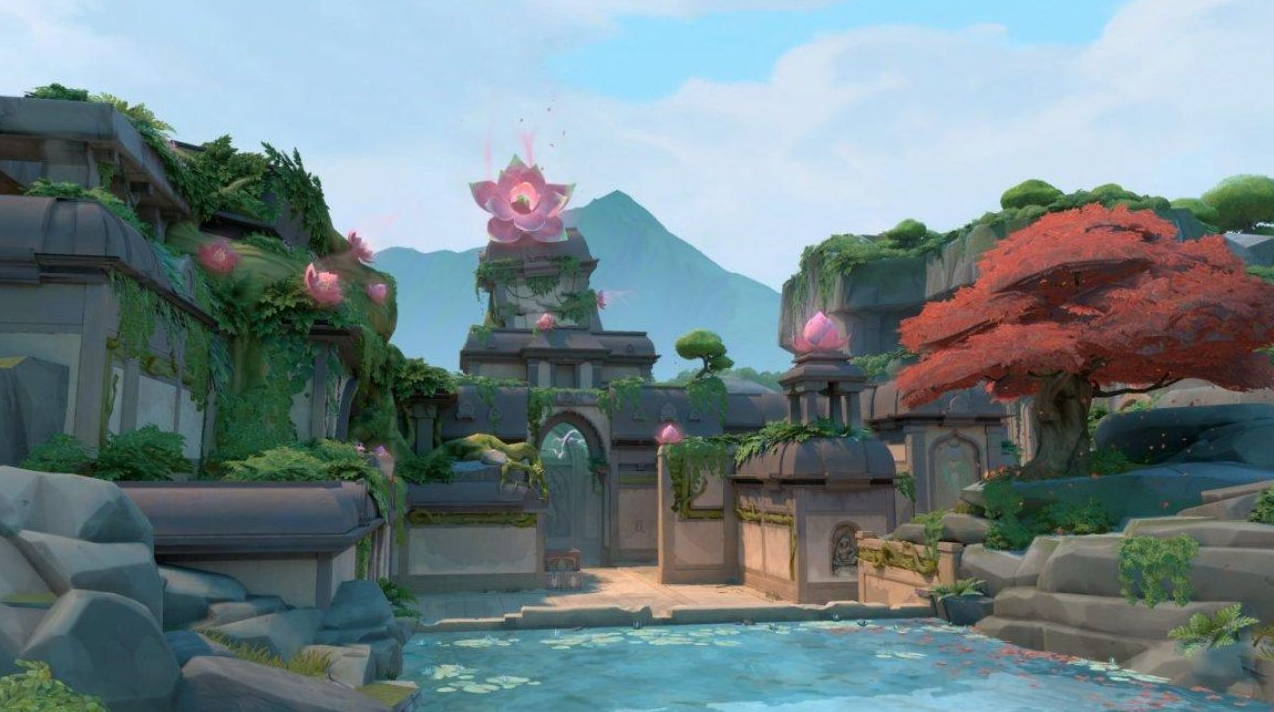
Lotus is the freshest map in the map pool, added only in Episode 6: Act 1. This is a three-bomb site similar to Haven, based in India. It has unique interactable doors that rotate and features a destructible door.
 Lotus map, VALORANT
Lotus contains three main areas that are contest-able for both sides: C-main, B-main and A-main. Control over these key points of the map will determine how the round will flow out and be played. Lotus ‘ similar to Haven ‘ requires at least certain defending side aggression to maintain a sort of pressure on the Attacking side, as to not be fully run down by fast site executes and splits. It is key to figure out what the best places to aggress are, and how to use the best duo combos in the map pool right now.
 Lotus’ Minimap
Credit: mobalytics.gg
A main is a significant territory on the map, but requires heavy investment from the defending side to contest it properly. Attacking teams can punish this by exploiting other weakened sites fast, but this can be countered with a well prepared retake.
Defenders can concede A-main and play from site, but this will lead to them being susceptible to strong B-splits. Conceding C-main fully leads to the defenders’ B-main control being exposed on the flank. It is thus essential to understand what parts of Lotus can be played aggressively and what parts can’t in the current context of the round and game. It’s also critical for Attackers to know what aggression can be punished, and what parts of the map are worth conceding in the current state of the game.
Flash agents are quite strong on Lotus, and thus flash initiators can help with a lot of these tight corners, leading open spaces with no cover. With this in mind, we feel Skye and Breach are essentially S-tier picks on the map in combination to any dive duelist, with either one essential and the possibility of running both. They can be supplemented with either a Fade or a Sova as well.
Best Duo Agent Combinations For Lotus
Breach and Raze
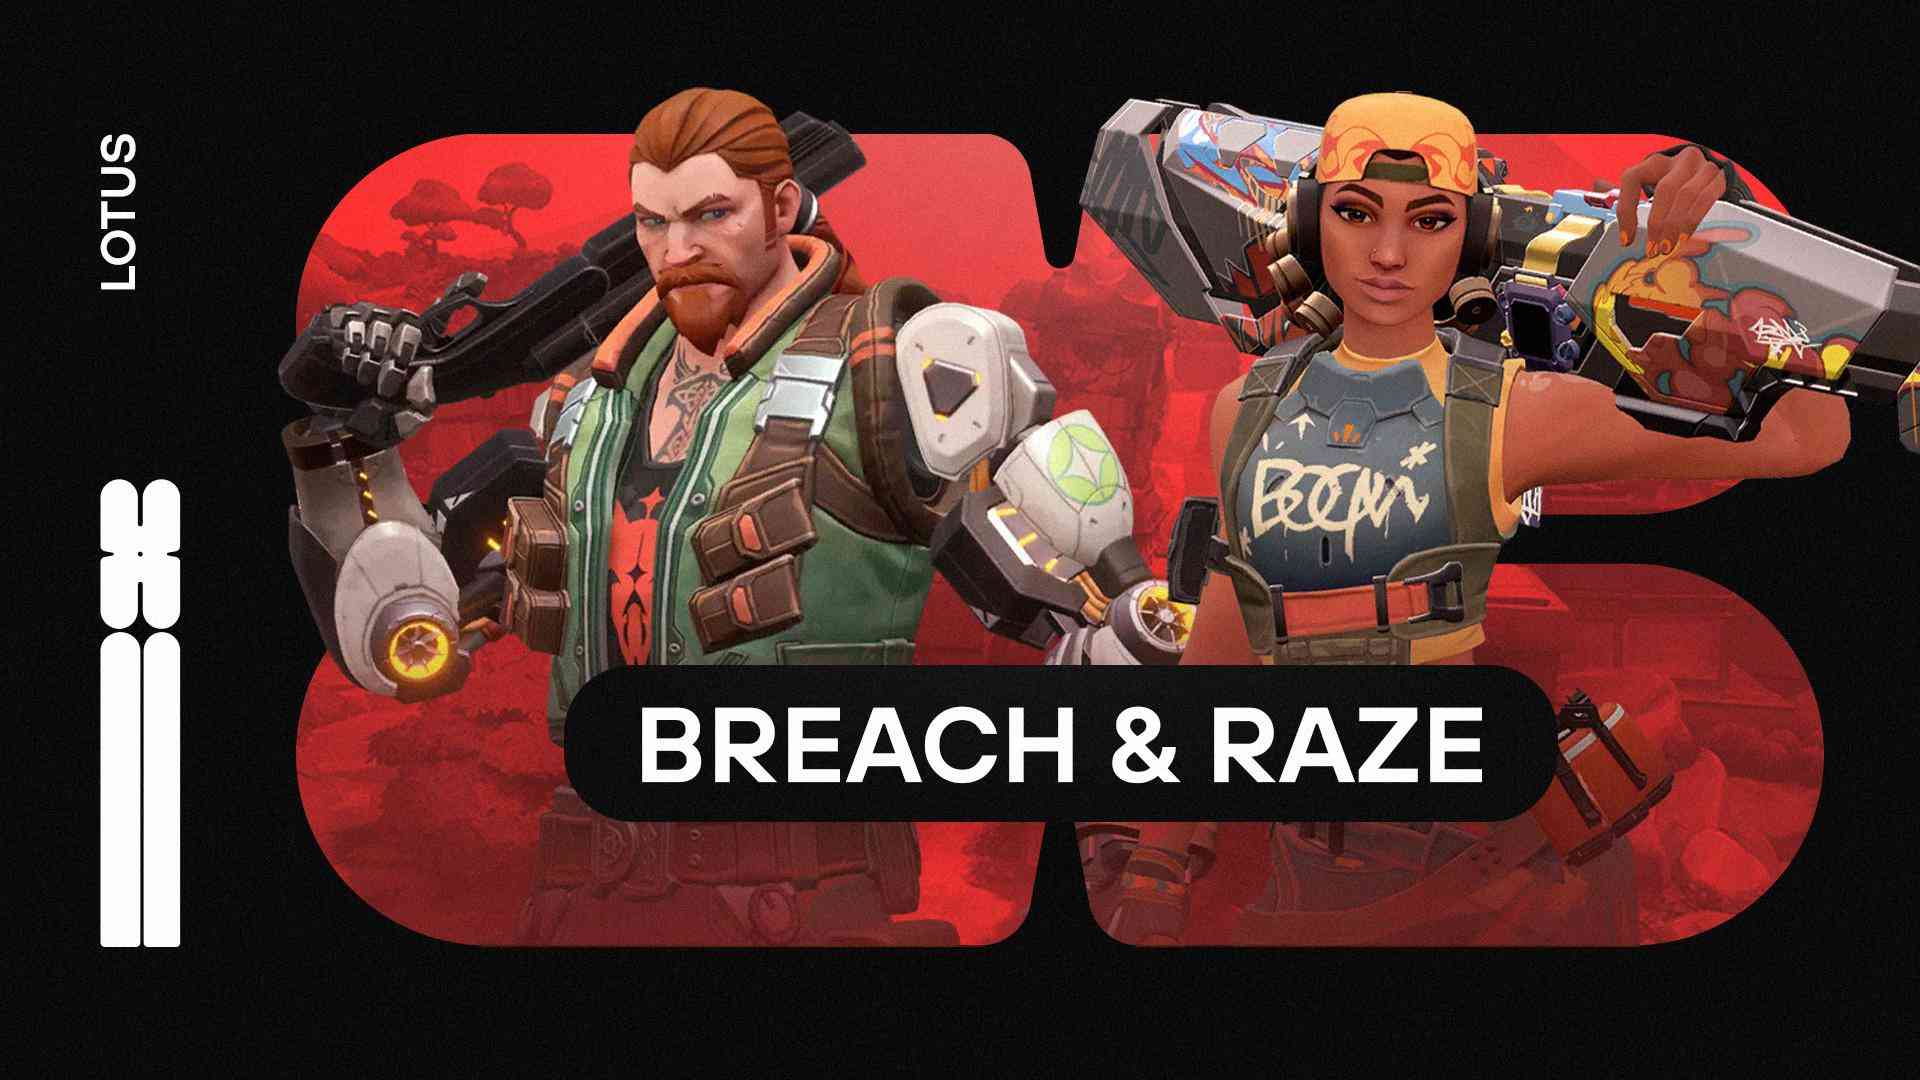 Breach & Raze
Breach and Raze are both extremely strong picks on Lotus. Both of them combine to form one of the best agent combos on the map to date. The Breach stun is incredibly strong and can help the Raze contest several areas early. Breach flashes are definitely not the quickest or hardest to dodge but they will net you a second or two at the highest level, and a flashed opponent anywhere lower than that. The Aftershock can be used to clear several pesky 50/50 angles in the map, without having to hard check them leading to quicker and more explosive takes.
Contesting the map can come in the form of finding an isolated lurker off-guard walking up, or a utility based fight with complete investment early on in the round for map control; as seen at A main.
The Raze player here must nade the A main position with the breach stun and then satchel out to fight anyone who manages to dodge the A main nade and make it to rubble or are out exposed. The Raze can also satchel on to rubble, this sometimes is unexpected and provides a different vantage point from which you can hold for a late A hit or a late A lurker and rotate the rest of your players off. You can also fully push A main if it is clear. This Breach utility set is to fully fight A main.
A good approach against players who like to play contact based and slowly, is to catch off their lurkers. You can use the following stuns to catch off players walking to take space, these stuns are best done on contact of the fighting player who is your duo here, or based on sound or a jiggle peek info. A big part of these stuns is having the right intuition though, this works maybe 2 or 3 times a half and must be called based on the players instinct and read of the game.
Those were the plays that could be made on the Defending side. However on the Attack side, similar fast plays can be made which allow the Raze to take loads of space fast with a quick double satchel in tandem with the flashes and the appropriate stuns.The Raze can either satchel immediate to rubble and fight off the first flash, or save the satchels to satchel into Tree along with the Tree flash once scaled into site.
Here the util set allows the Raze to satchel at the start of the round, letting the first flash hit as soon as the Raze is at the doorway to B site. The third flash allows the Raze to fight and contest B-link and control it for the post plant. After putting down this utility set, the Breach can run back to A lobby and come for a late A flank, or just stay B main and peek off the Raze’s contact onto players coming out of CT spawn.
The aftershock is good behind the box as it forces out defenders playing there, but if you have other utility to cover that you can just use it either at B-upper or CT to delay rotations and a fast retake. The Raze can also use their nade to prevent a fast retake and delay rotations, or also use it to clear a smoke before entering it and then gaining the advantage in the smoke.
This utility set usually will deny the cubby position for the defenders due to the early stun, and will try to catch off anyone trying to aggressively contest C-main, usually a chamber trying to work a pick. If a player is stunned, the Raze can then choose to satchel to close down the gap, but it’s better reserved to close down the space on the site in tandem with the Breach flashes. A good Raze nade is a nade that bounces off the wall into the back-site pillar, the C bend. This position is played most commonly by most sentinel players, especially Cyphers on the C-site. However, you could change up your utility set by also using a stun on site, and trying to get the site kill off, if you have any other utility to deny the early C-main fight.
Breach ultimates are best used on the B and C sites respectively. You can also use them on the A site, but if you end up losing players whilst taking A main, your round could collapse there. You can also save Breach ults for the post plant and create loads of delay in it. The same can be said about Raze ults. However with a Raze ult, you could pop one right out of the barrier at A-main and maybe get 1 or 2 players with it if used correctly. When used in combination with a Breach ult, the Raze ult will be even more effective. Combining ultimates is extremely effective and a very important skill to learn, so it’s important to begin trying to do so as early as you can.
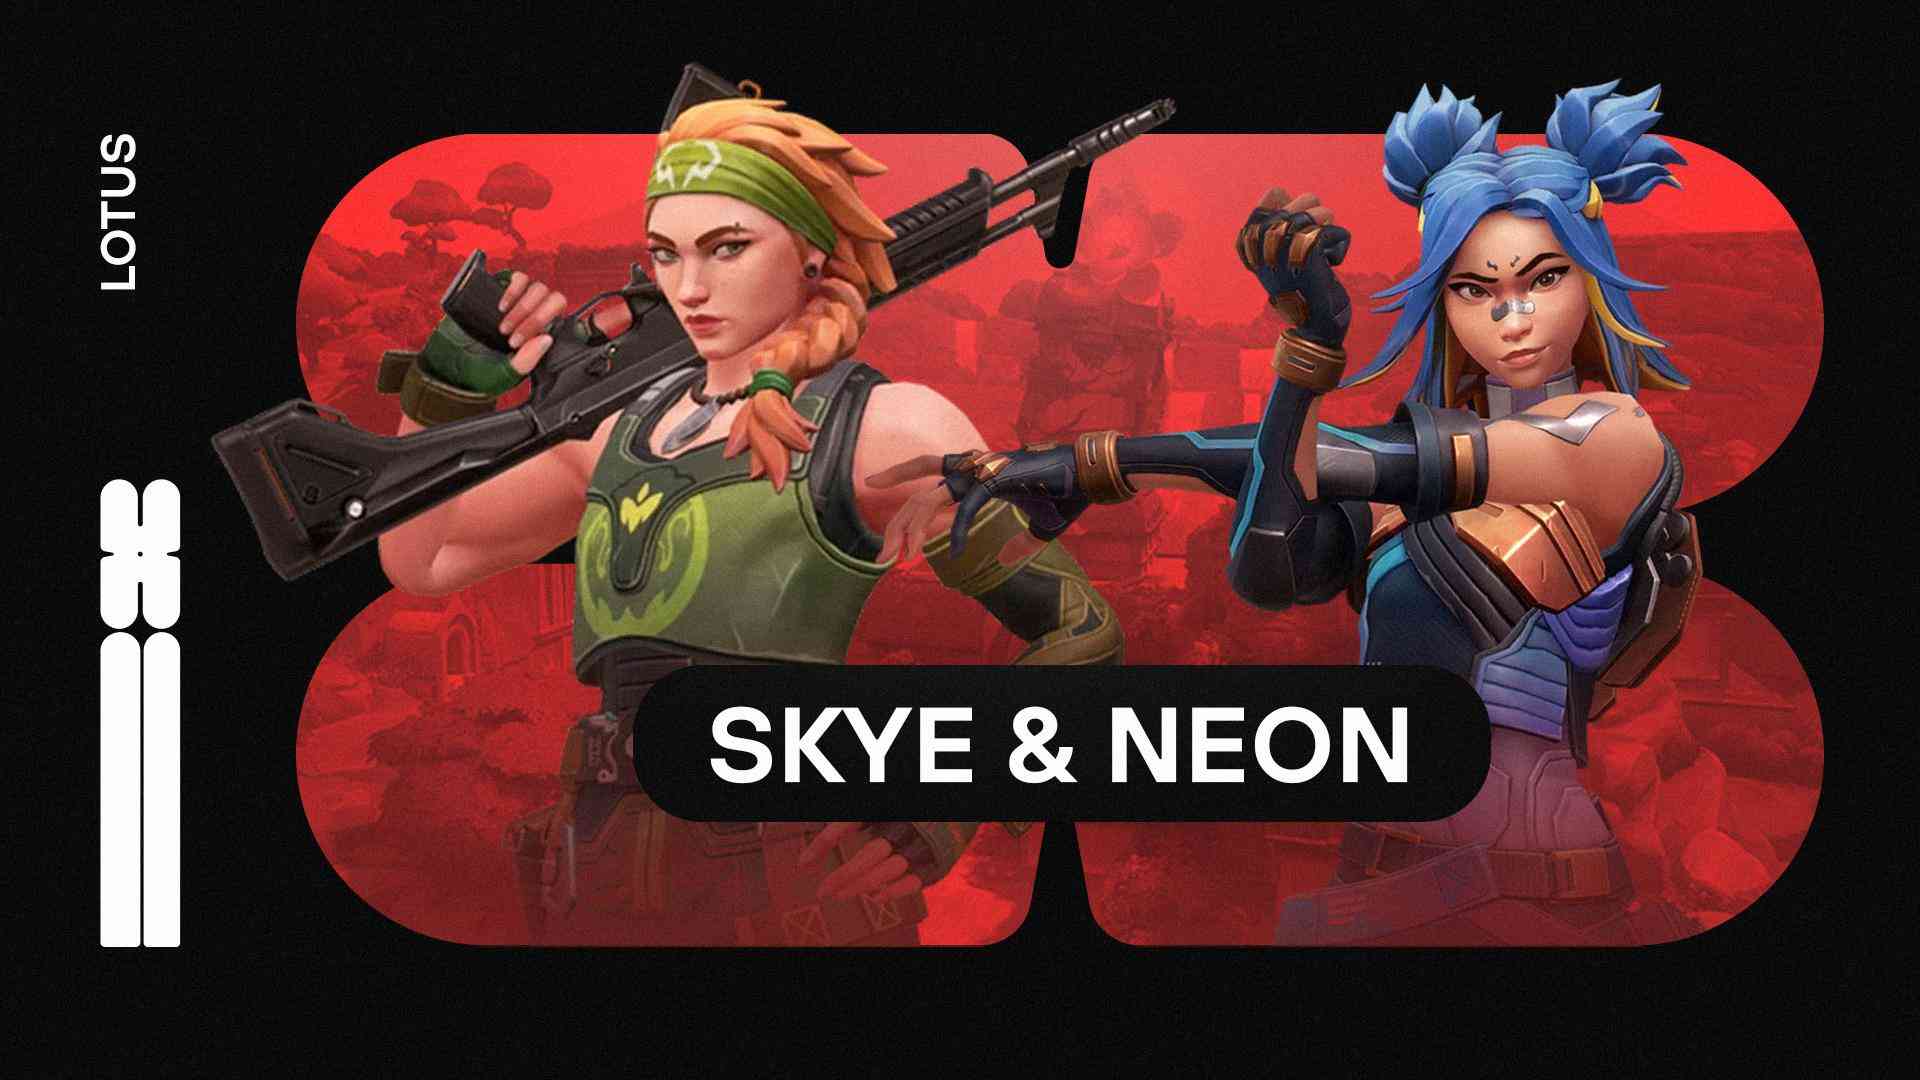
Skye and Neon
Alongside Breach, Skye is one of the strongest initiators on Lotus. Skye’s kit of flashes are extremely mobile and versatile, and she has a dog that can stun and clear a number of corners. All of this helps make her a very strong playmaking initiator. Her ult is incredibly effective, often providing a free site, or at minimum, a really chaotic attempt at a hold for the defense. Skye combined incredibly well with the Neon specifically, as well as the Jett. Neon’s stuns complement Skye’s utility and allow the Neon to take fights with full confidence, and Neon’s High Gear allows her to close down space and angles, and catch players off guard.
 Skye & Neon
Neon’s Fast Lane is one of the strongest abilities in terms of taking space on a bomb-site and isolating angles whilst doing so, and it synergises incredibly well with the Skye flashes that can be maneuvered in and out of the wall.
Skye’s utility can be used to contest most parts of the map early, and hit the B and C sites quite fast. The flash provides early information; if the defenders are contesting the same, or not. And if not, it allows you to speed up your site hit quite a bit.
Read more: VALORANT Pro Players By Past Games: A Study
On A, you can use the Flash similar to the initial Breach flash, which basically pushes off any of the defending players. This flash is generally better than a Breach flash, as they are easier to dodge and can be smoke off. Once this flash pops, you can use your Trailblazer to find any enemies in any close areas and stun them if required. This dog can clear all the way up to Tree, if required, clearing one of the most important parts of the A site for you. You can change up the utility based on your own composition and read of the game. Sometimes just a flash is enough to clear Tree, as Skye provides information upon blinding opponents.
You can also use the variation to dog from close to clear all of A site, and silent drop as well but with the risk of a smoke being pushed. It is important to take note of Breach Aftershocks whilst being in the Trailblazer as they’re quite common and can be used to kill you. Smokes can also be pushed and the destructible door is also another avenue for defenders to catch you whilst your clearing angles for your team.
One of Skye’s strengths is how well she can take B site. The B site is quite easy to clear, surely, but Skye can help set up control of either link or CT-spawn as well. The utility set begins with Skye flashing B-main entrance, a little high, so she can get info if anyone is attempting to make a play.
If blinded, you now know someones contesting it and can close down the space on them and get the first blood. If not, Skye can come close and use her Trailblazer ability to clear the close angles on site and then perhaps take it toward B-link or CT-spawn. She can then use her second flash to set up her Neon either towards B-link or CT-spawn to maintain some sort of control in the post plant. B-link is more optimal as it allows for your A lurker (if any) to come late and defend the bomb, and denies an important defensive position for the defenders. This B-link player can then also play off the contact of the B main players.
Another one of Skye’s benefits is her utility on the C site. An early flash over the wall pretty much stops all aggression towards C and pushes the OPer off the angle if they choose to hold it. C-long is the strongest OP-angle on the map, so to clear it off with one flash, with the added benefit of having the information of if there was or was not a player posted up is massive positive. Once the initial aggression is dealt with using the Guiding Light, you can then use a Neon Relay bolt to perhaps stop any re-aggression whilst your team scales up to the entrance of C site.
Beyond this, the Trailblazer can be used to get info on the site player and clear any Cypher tripwires for the Neon to take space onto site. The trailblazer can scale onto the waterfall smoke, and can be followed by the Neon, using Fast Lane as a diversion on site creating incredible chaos and allowing the Neon to go for a multi kill at waterfall. The second Guiding light can be used to aggress heaven, waterfall, or just C bend to further simplify entering backsite.
It is important to be the aggressors when playing flash initiators, and to not let defenders comfortably setup retakes and site takes. Once the site is taken, the second Guiding Light can be used to agress waterfall whilst the spike is being planted by your teammates. This is an incredible timing as at least one defender will have utility out or will be spamming the bomb, and you can catch them for free, and the others (if any) will be blind anyway. This will completely disrupt their retake and secure the round if you go massive here.
The following pop flashes will allow the Skye player to make some plays with his duelist player. These are commonly flashable spots and some cheeky spots that the defenders, or attackers won’t expect. Some of these can be used as self pop-flashes if the Skye peeks with them and others can be pop flashes for the duelist player specifically, which here is the Neon. Neon’s mobility is very effective with the Skye flashes and the maneuverability through the fast lane is quite beneficial. A lot of these flashes are similar to the Breach stuns, as in you let the Attackers or Defenders walk into an open space, and based on contact or some info utility you flash them and then swing. They will have no cover and will be sitting ducks.
A great example is A tree, when the door opens, you will flash and then a teammate swings off it. The attackers will have nowhere to hide and those are basically free kills for your duo and yourself.
Skye ultimate’s can be used pretty much to run it down on any site. They are really strong and will allow your Neon to get a free entry or bombard the defenders with utility. Skye ultimate combo-ed with Neon ultimate is extremely strong as your Neon will not lack in any gun power whilst on the entry and should guarantee you a round for free pretty much. You can also do this on defense and run it down the flank and it should be pretty hard for them to hold for it if it’s only one lurker. You will be able to spot him in the ult and finish them off with Neon’s Overdrive!
However another good usage of the Skye seekers is to use them on retake when on defense. This is also a very percentage play and will most likely win you the round. Good places to play retake with Skye ult and A-site and C-site. On Defense you can also just pop Neon’s Overdrive on an eco round, almost similar to Jett’s knives.
Fade and Jett
Fade and Jett are another strong combination of duo agents to run on this map. However, they’re far from the strongest. They work best if a member of your duo can’t play any of the previously mentioned combinations, or if they’ve already been locked. Jett is the universal go in, go fast and kill them duelist. As long as the Initiator player in this duo does their duty of revealing where the players are, and providing good prowlers in time for the Jett to clear some of those pesky corners, you should be fine.
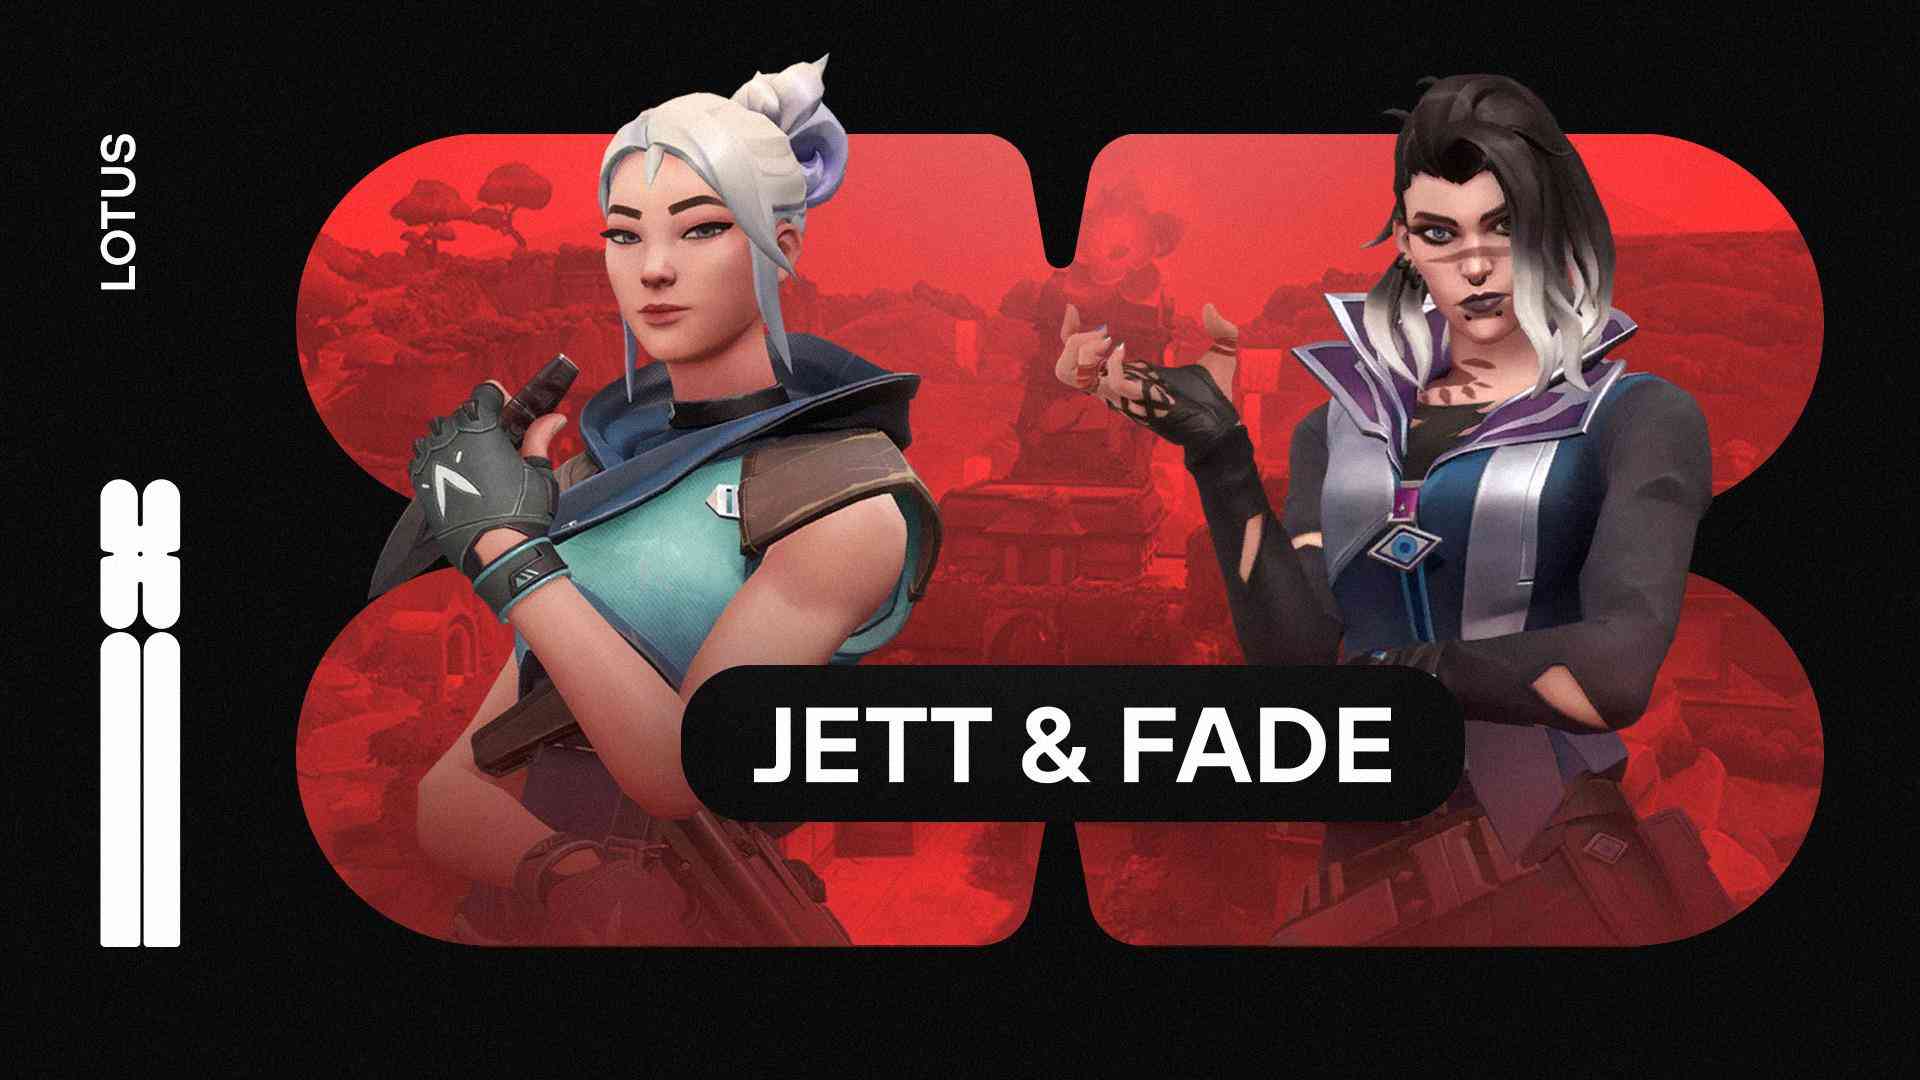 Fade & Jett
The common combo of dashing into a smoke, and getting the site players revealed with a haunt should be the base idea for the Attack side of your game. However you can also do lots of contact plays, and walk up to site and then explode with Fade Prowlers and Haunts, hoping to find the site anchor with their pants down.
The following utility sets can be used while starting on A defense. There are multiple Haunt variations we’ve shown that can be used based on the context of the round and the situation. Once the attacking team starts breaking your haunts, you should switch them up, never let them pre-aim your Haunt before the round starts. Keep them on their toes so you can get at least one scan.
This utility can be combo-ed with other initiator utilities like flashes and stuns, or just a straight up raw Jett dash to Rubble. The Fade Seize behind rubble allows Jett to fight some trapped low HP attackers. If you don’t get a fight A main, you can again fully push A main based on the tendencies of the opposing players, or leave a player posted up or playing for a multikill.
The retake utility is quite loose, and you can use it based on the information you have and the tendencies of your own opponents. A recon at the back wall of the site allows you to clear drop, and stop the Tree peek into site. The pull can be on the default plant, allowing you a dash to maybe go into their smoke and finish off the low health planter and fall back. This should of course be done whilst the plant is being done. Another place to chuck the Fade Haunt could possibly be Tree, but it’s really easy to break so it’s better if a player peeks as soon as the Haunt lands to catch the Tree player(s) off guard. It’s likely there will be more than one in Tree though, so I wouldn’t always suggest this play without a flash.
The next set of utilities is the Attack A utility for the Fade. There is no fixed set of utility abilities that have to be thrown in a specific order, it’s all about communication between you and your duo. If the duelist player requires a Fade Prowler for backsite, they should receive it in the moment. If they need it for Tree, they should receive it. If they want to push the CT smoke with it, or want to push B link, you should be ready to support the duelist player however possible. If you feel like A has been stacked heavily and they’ve rotated over, it’s often just better to go hit B with a Fade prowler into B link.
The Haunts will help clear any aggression from the defenders, and you can again change up what Haunt you’re throwing to keep them guessing and to get a scan off. Another interesting pathing route is to go through the door with a prowler maybe, and then Recon above silent drop. This Haunt is incredibly powerful, but you would require some other utility to cross all the way toward Rubble and Door.
The C defensive util is pretty simple, there’s a simple C main Haunt that clears early C main pressure from the attackers and allows your OP-er to post up for free. This is one of the best OP angles in the map and it’s good to have your Jett duo posted up here as he can help lock down C and call rotations super early. If you have this setup, the sentinel could set up more heavily toward B site and you could fight A site. The retake util is pretty simple as well, you could use the waterfall utility set but you’d have to throw utility through a smoke. However towards heaven, you can use the lineup as shown and Seize C-bend as well.
The following utility can be used to attack toward the C site. The first haunt can be used to clear the C-main OPer, or anyone aggressing C-main or looking to fight it. This is particularly useful against agents like Chamber that like to start C aggressively with the help of their teleport. You could also clear that with another utility and save your haunt for the actual site. There’s multiple site haunts, but most likely you might end up having to line them up through a smoke or exposed to the C player to beware! These haunts work best when contacting toward C site and you don’t see any presence on site.
The prowlers can be used to take aggressive control of Waterfall or Heaven and aggress it whilst the defenders are still rotating. You can most likely find one pick there if the site is being played on retake.The Fade seize is bounced off the pillar to go into C bend where it will seize the one player playing it, if any. This is incredibly powerful and can be combo-ed with a Jett dash to finish him off or any damaging utility.
Fade Ultimates are extremely pivotal on this map. They can help confirm so many rounds with the amount of raw unfiltered aggression they allow your team to do. Fade ultimate can be used to take site, or can be saved for the post plant. However in the post plant, you’re better off using it as the defenders are setting up or preparing their retake. The value of the Fade ult isn’t as high when it comes to delaying a spike defuse, as it is in breaking a site retake completely. So when you do have a Fade ult pick a side, ult it and then go all out and shoot some heads.
Of course you could also just take sites with the Fade ultimate. It’s great on all sites of the Lotus bombsite, but beware of teams playing off-site when you have a Fade ultimate. Fade ult is best used on C-site, but can be made to work on B as well as A-site.