

Choosing a defender in Rainbow Six Siege often determines the outcome of a round. One mistake in the pick phase leaves the team without map control, information, or the ability to delay the plant. But how can you figure out who is strong in 2025 and who has already lost their relevance?
In this article, we’ll break down the best defenders of summer 2025, show their strengths and weaknesses, and tell you which maps and playstyles they are best suited for. You’ll get mini-guides for each top operator: from unique abilities and roles to tips on using them and optimal combinations with allies.
You may also find this helpful article R6 Ranks: How Ranking System Works In Rainbow Six Siege.
Contents
- 1 Quick Comparison of R6 Defenders (2025)
- 2 List of the Best R6 Siege Defenders
- 3 Fenrir – The Master of Fear Control
- 4 Azami – The Flexible Barrier Architect
- 5 Mira – The Vision Controller
- 6 Clash – The Unbreakable Shield
- 7 Kapkan – The Deadly Trap Setter
- 8 Kaid – The Unseen Wall Guardian
- 9 Valkyrie – The Queen of Intel
- 10 Jäger – The Utility Protector
- 11 Smoke – The Time Denier
- 12 Mute – The Gadget Jammer
- 13 Frequently Asked Questions About the Best R6 Defenders
- 14 Which Defenders Are Best for Beginners in R6 Siege?
- 15 What’s the Best Defender for Holding a Site?
- 16 Should You Always Ban Strong Attackers?
- 17 How to Choose the Right Defender for Each Map?
Quick Comparison of R6 Defenders (2025)
| Operator | Role | Utility Type (Unique Ability) | Best For | Risk Level |
| Fenrir | Crowd Control/Trapper | F-NATT Dread Mines | Slowing down pushes, controlling choke points | Medium |
| Azami | Anti-Entry/Support | Kiba Barriers | Site reconfiguration, reinforcing weak positions | High |
| Mira | Intel/Support | Black Mirror | Defending key walls | High |
| Clash | Intel/Crowd Control | CCE Shield MK2 | Slowing down attackers, gathering information | High |
| Kapkan | Anti-Entry/Trapper | EDD (Entry Denial Device) | Punishing careless players, slowing down attackers | Low |
| Kaid | Anti-Entry/Anti-Gadget | Rtila Electroclaw | Protecting hatches and walls, delaying breach | Medium |
| Valkyrie | Intel/Support | Black Eye Cameras | Team information, aggressive roaming | Medium |
| Jäger | Anti-Gadget/Support | ADS (Active Defense System) | Protecting the utility from grenades, supporting positions | Low |
| Smoke | Anti-Entry/Trapper | Remote Gas Grenades | End-round control, delaying plant | Medium |
| Mute | Anti-Gadget/Crowd Control | Signal Disruptor | Controlling key entrances, denying gadget usage, and slowing enemy pushes. | Low |
List of the Best R6 Siege Defenders
The tier list is based on ban rates, Reddit discussions, cyber sports tournament analytics, and official developer notes.
- Fenrir
- Azami
- Mira
- Clash
- Kapkan
- Kaid
- Valkyrie
- Jäger
- Smoke
- Mute
We have a similar article for those who play for the attack side: Best R6 Siege Attackers in 2025: Tier List & Operator Breakdown.
Fenrir – The Master of Fear Control
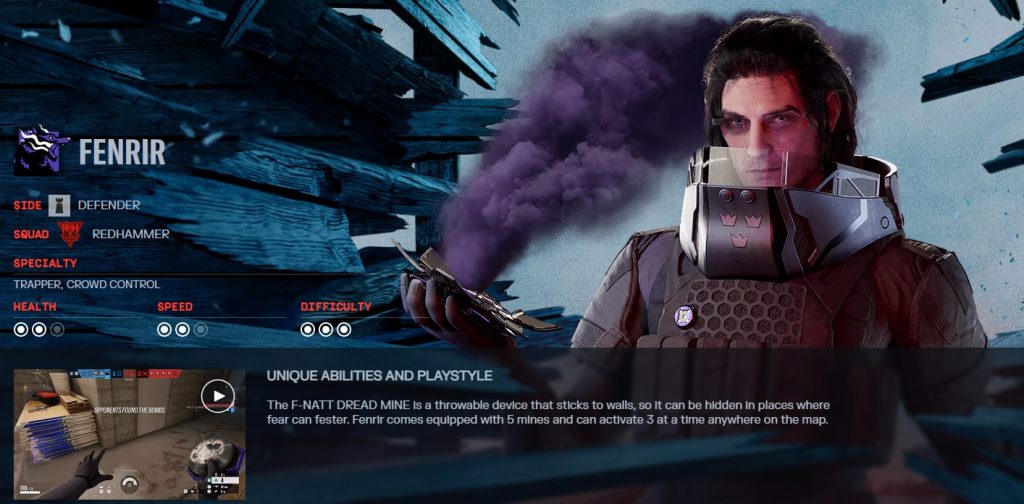
Why He’s Strong
Fenrir wins rounds through control rather than kills. His F-NATT traps limit vision and force attackers to slow down. He breaks pushes quickly and gives the defense crucial timing for rotations. In the summer of 2025, Fenrir had the highest ban rate on defense (≈60%). This is the leading indicator of an “overpowered” operator in matchmaking.
The discussion of how effective Fenrir is, despite some limitations — Reddit
Strengths
- Pace Control: his F-NATT traps force attackers to stop, breaking up fast pushes and giving the defense time to regroup.
- Versatility: works on any map and setup, creating danger zones.
- Strategic Trap Placement: F-NATT Dread Mines can be placed in doorways, narrow passages, and common routes to maximize the fear effect and activate them remotely.
Weaknesses
- Dependence on Timing: if used too early or too late, the effect is almost zero.
- Limited Resources: there are only a few traps, so you need to consider their placement carefully.
- Vulnerability: attackers can use tools to counter traps—grenades, drones that can dismantle them, and EMP devices can temporarily disable traps.
Tips
Perfect Combination: Use Fenrir + Smoke + Jäger to slow down the push and deprive the attack of grenades and time.

Need for Support: Trap placement should be combined with info from Valkyrie or Maestro.

Role on Map: On maps with narrow corridors (Oregon, Kanal), place capsules in choke points for maximum effect.
Azami – The Flexible Barrier Architect
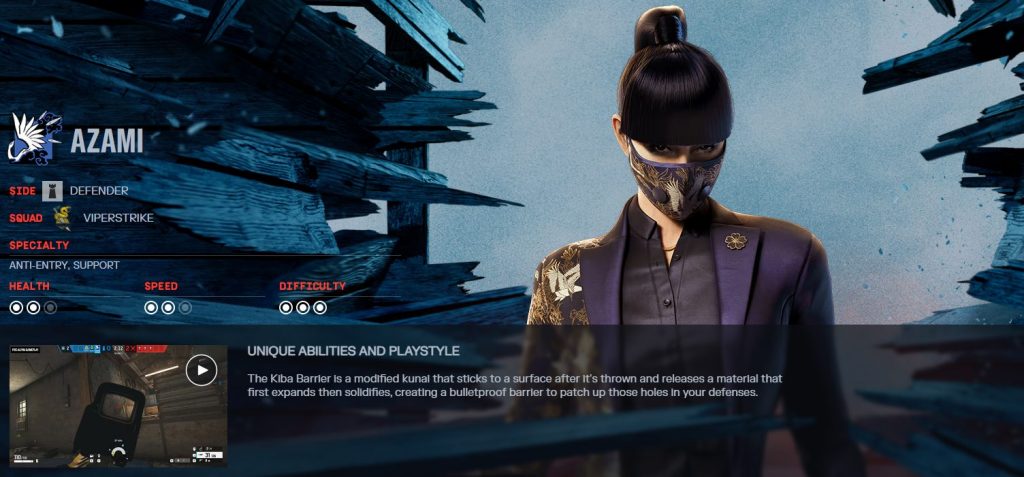
Why She’s strong
Azami changes the map to the middle of the round. Her Kiba Barriers block shots, cut off attack lines, and reinforce positions. She allows the defense to rebuild the site and forces the attack to waste a lot of utility. At Six Invitational 2025, Azami is the most frequently banned defender (50% bans), which is typical for the best operator.
You can use the operator in a completely different way — Reddit
Strengths
- Flexibility: Kiba barriers can be quickly deployed, allowing you to make changes on the fly during the round.
- Strengthening Weak Areas: secures corners and openings that are usually hard to defend.
- Use in the Final Seconds of the Round: the barriers help stop attackers from entering the defended side.
Weaknesses
- Requires Planning: effective only if you know the maps and attack lines well.
- Easy to Break: barriers are quickly destroyed by grenades, explosives, or melee strikes.
- Difficult for Beginners: improper placement often renders barriers ineffective.
Tips
Combination with Other Tools: Kiba barriers work better with other safety gadgets such as Jäger's ADS or Wamai's MAG-NET.

Perfect Combination: Azami + Kaid + Mira is powerful for holding fortified positions.
Mira – The Vision Controller
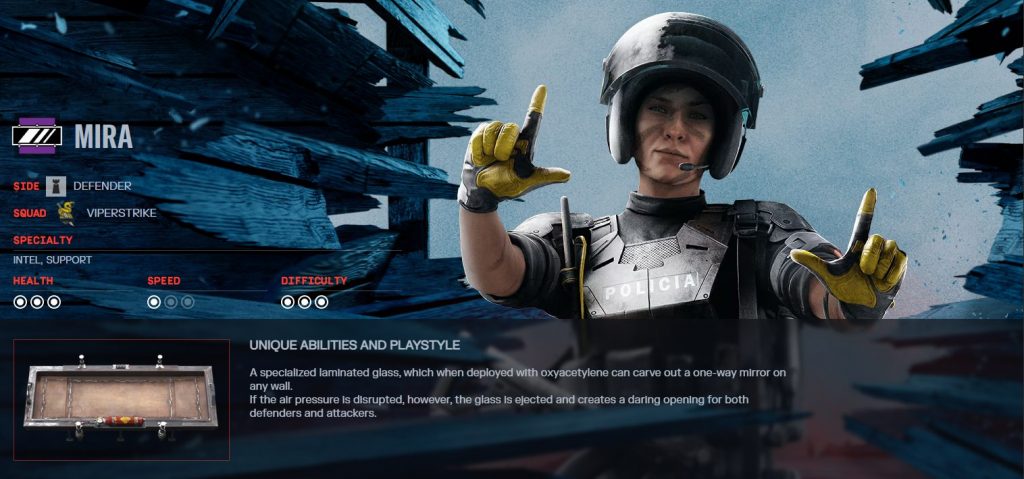
Why She’s strong
Mira controls space through Black Mirror. Her mirrors create pressure zones where attacks cannot move freely. She forces her opponents to play slower and look for workarounds.
A Reddit discussion notes Mira’s effectiveness in controlling space — Reddit
Strengths
- Ability to See Behind the Walls: the Black Mirror allows defenders to see what is happening on the other side and get information about the opponent’s movements.
- Controlling Long Sightlines is especially valuable on maps like Clubhouse and Bank
- Forces the Attack to Change Strategy: mirrors force the attack to waste utility or look for workarounds.
Weaknesses
- Not Universal: effectiveness decreases dramatically on open or dynamic maps.
- Limitations in Gadget Placement: the gadget can only be placed on certain walls and in specific positions, which limits Mira’s mobility.
- Team Dependency: only gives maximum value when coordinated with allies.

Tips
Perfect Combination: Mira + Smoke + Jäger creates a strong site with long lines.

Weapon Utility: The second weapon, ITA12S, helps rebuild a map with holes and sight lines on unfortified walls due to its high rate of destruction per shot.
We have a separate article about guns: The Best Guns in Rainbow Six Siege.
Clash – The Unbreakable Shield
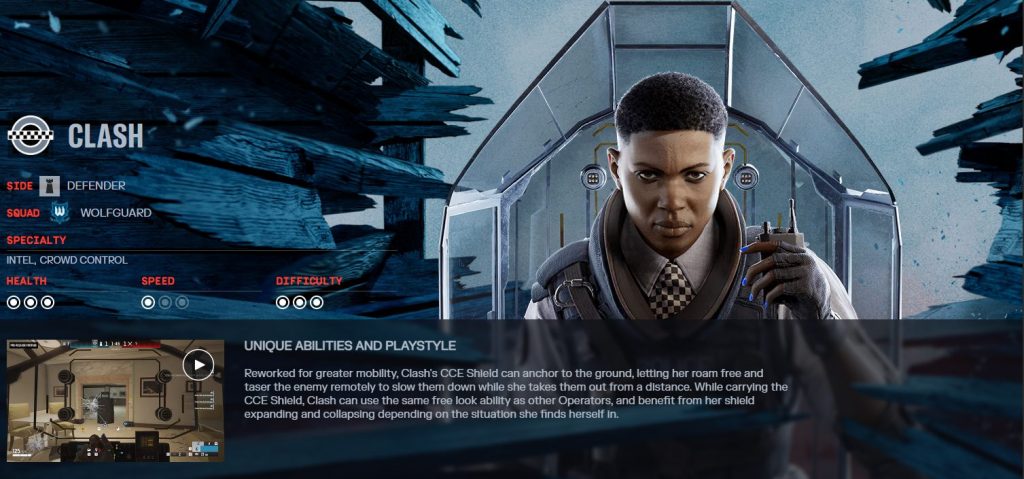
Why She’s strong
Clash holds off attacks with her shield and electricity. She takes away space, slows down movement, and informs her allies. She breaks the attack tempo even without kills and makes opponents use their resources.
Strengths
- Delayed Attack: Her shield with electricity deprives opponents of tempo and deals constant damage.
- Information Support: constantly monitors enemy movement and transmits data to the team.
- Reinforcement: a shield can be placed at key access points, and remote shock can be used to scare enemies away from entering or planting a bomb.
Weaknesses
- Weak Weapon: Limited in firepower and is not very effective in direct combat.
- Useless Alone: can be easily countered without support from allies.
- Vulnerable to Certain Operatives: especially against Zofia, Capitão, and explosive operators.
Tips
Perfect Combination: Clash + Lesion + Smoke is ideal for time and zone delays.

Information Gathering: The shield cannot be shot through, giving you good visibility and partial invulnerability. You can peek from windows or doorways and tell your allies about enemy movements.

Don't be Alone: You need support in the open area. The shield is suitable for defense and control, but not for duels.
Kapkan – The Deadly Trap Setter
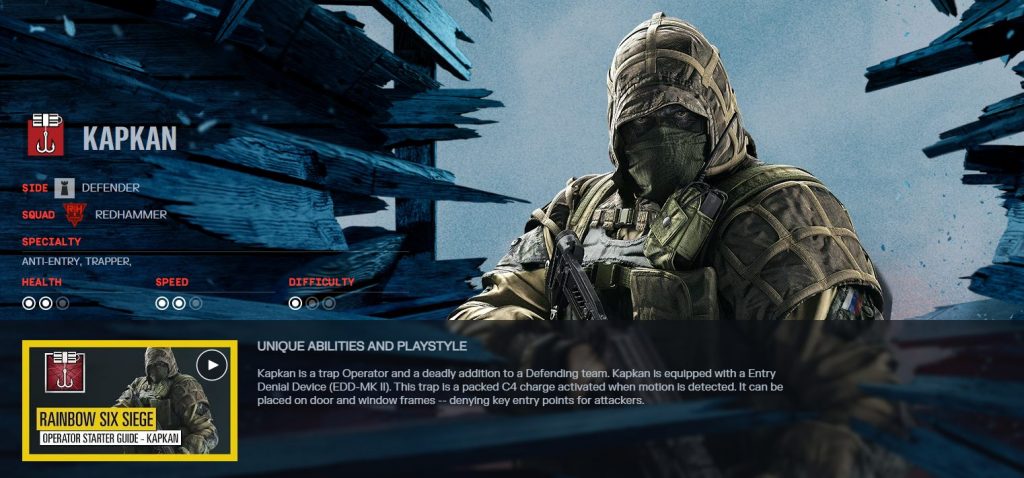
Why He’s Strong
Kapkan wins with deadly but straightforward traps. His EDD mines on doors and windows punish inattentive opponents and force the attack to move cautiously. He brings value even after his death.
Strengths
- Ability to Place Traps in Doorways and Windows: traps explode when enemies enter blocked entrances, scattering shrapnel all over.
- Works on All Maps: powerful on narrow corridors and many doors.
- Valuable After Death: even if killed, traps continue to be useful.
Weaknesses
- Dependent on Enemy Mistakes: effectiveness drops dramatically if the attack is neat.
- Kapkan Prefers Close Combat: Kapkan struggles in open spaces or at long range, as he can only defend himself by retreating.
- Predictability: the utility is static and reads quickly in default settings.
Tips
Perfect Combination: Kapkan + Frost + Lesion creates a deadly set-up on traps.

Need for Support: Utility works better when allies slow down attacks with Mute drones or Azami barriers.

Role on Map: Ideal on maps with many doors (House, Kanal, Theme Park).

Don’t Overload the Map: traps should be placed unexpectedly, not at every single doorway.
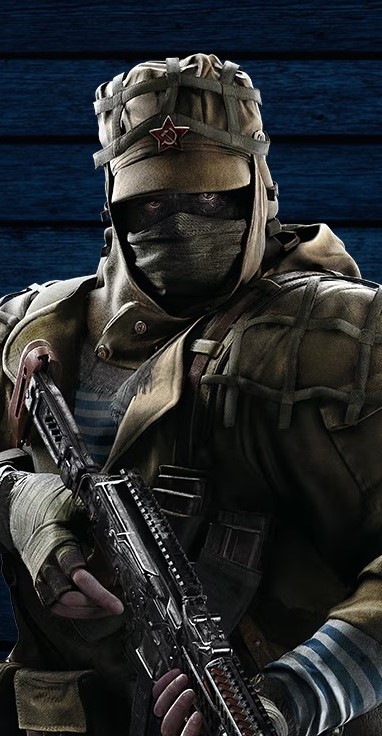
Kaid – The Unseen Wall Guardian
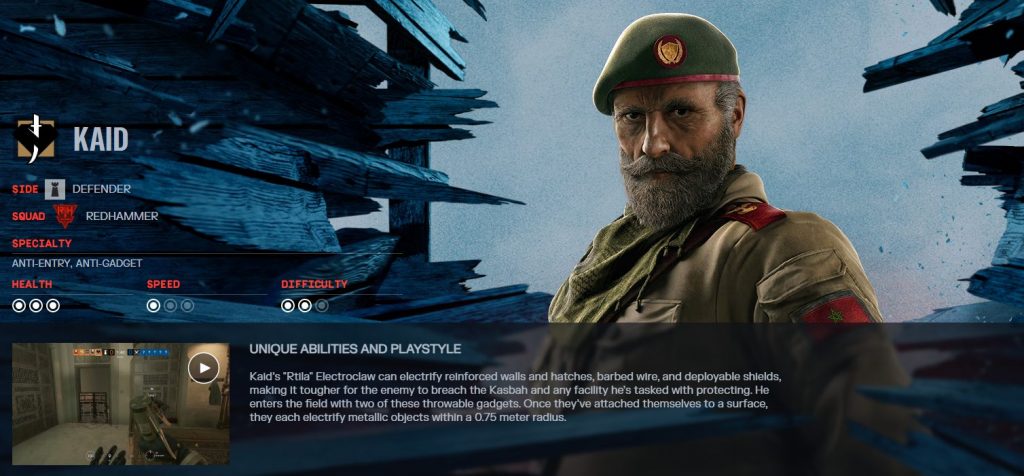
Why He’s Strong
Kaid controls the map with his RTILA Electroclaws. He delays attacks and makes walls, hatches, and shields impenetrable. His utility forces opponents to invest in extra gadgets for breaching.

Strengths
- Reliable Anti-Breech: RTILA Electroclaws block walls, hatches, and shields, slowing down breaches.
- Strength on Maps With Trapdoors: significant on Clubhouse and Bank, where defenses are built around fortifications.
- Unpredictable: the attacker often doesn’t know where his devices are hidden.
- Delaying Attackers: Kaid forces attackers to expend resources and coordinate to neutralize him.
Weaknesses
- Slow Set-Up: it takes time to position the gadgets correctly.
- Electric Claws Vulnerability: they are not bulletproof, and many operators (Twitch, Thatcher, Flores, Zero) can destroy them from a distance.
- Limited Arsenal: only two gadgets, which require precision and experience.
Tips
Perfect Combination: Kaid + Bandit + Smoke provides tough anti-breach and slowdown.

Need for Support: Requires allies to help control trapdoors and protect his utility from Thatcher.

Metal Surfaces: The Electroclaw can electrify metal surfaces through walls and floors, so it is difficult to find and destroy when placed on the floor under a reinforced wall.

Don't Waste all the Traps at Once: save a few for unexpected moments.
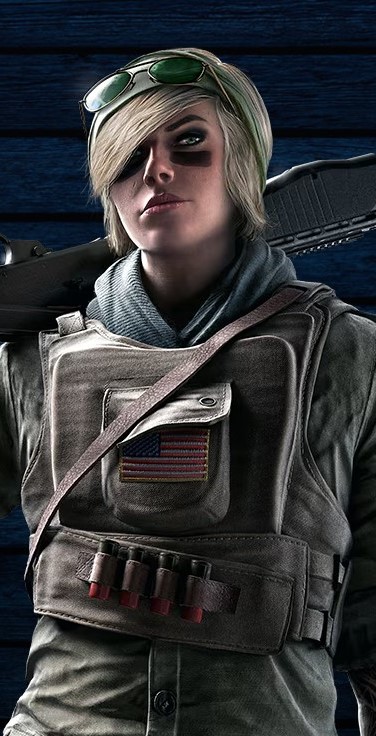
Valkyrie – The Queen of Intel
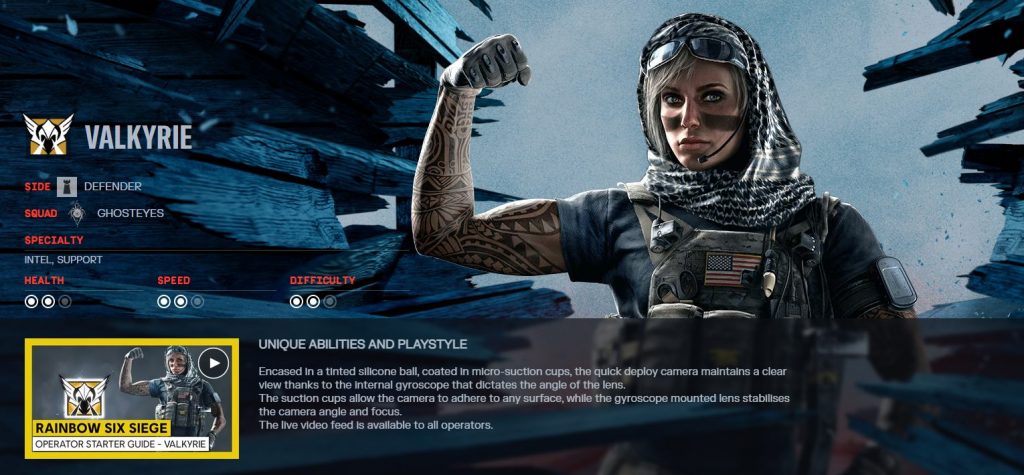
Why She’s strong
Valkyrie wins with information. Her Black Eye cameras provide a constant overview and control of the map. Defense gets accurate data on attack movements and can prepare aggressive peaks and rotations.
Why is Valkyrie considered one of the best yet Zero is situational? — Reddit
Strengths
- Maximum Information: her cameras give the team a constant overview.
- Flexible Use: you can put cameras on the street or in unexpected places.
- Excellent on Open Maps: Coastline and Outback especially reinforce their value.
Weaknesses
- Setup Risk: often needs to go into an open position.
- Vulnerable to Gadgets: IQ, Twitch, or drones find cameras quickly.
- Team Dependency: info is useless if allies don’t use it.
Tips
Perfect Combination: Valkyrie + Caveira + Pulse is potent for info and aggressive roaming.

Do not Tag Opponents With Valkyrie Cameras: Doing so immediately gives away the camera's location, resulting in its destruction.
Jäger – The Utility Protector
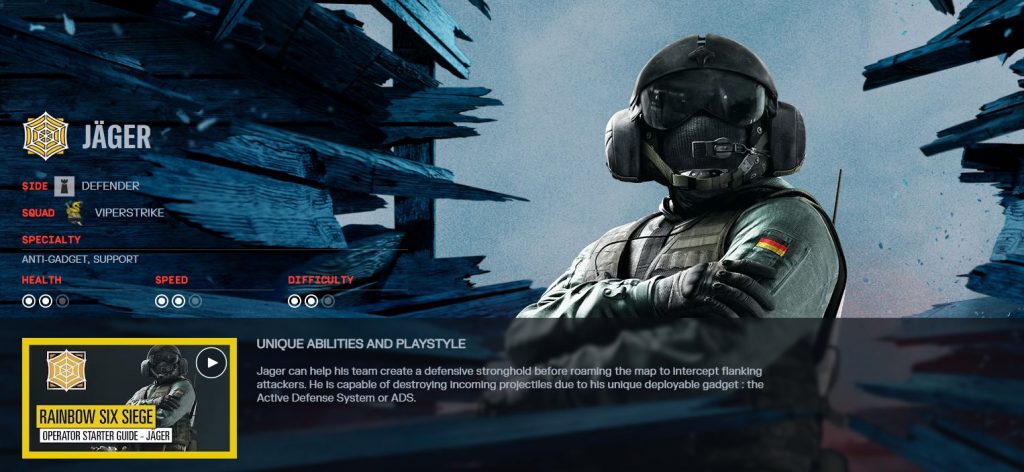
Why He’s Strong
Jäger protects the site from grenades and utilities. His ADS disrupts attack preparation and preserves shields, mirrors, and positions. With him, defense can hold areas longer without fear of instant explosion.
Strengths
- Anti-Grenade Shield: ADS protects positions from explosives and saves allies’ devices.
- Versatility: functional on all maps and in all sets.
- Mobility: Jäger can maneuver around the map faster than most other defenders.
- Positional Support: allows you to hold shields and Mira mirrors longer.
Weaknesses
- Average Value in Solo Play: works best in a team with a good understanding of positions.
- Limited Impact After Setup: after placing his gadgets, the impact often decreases.
- Dependent on Proper Placement: wrong setup makes the utility useless.
Tips
Perfect Combination: Jäger + Mira + Smoke to protect positions and save Utility.

Attack Round: Roam and play on the flank. Determining where the attackersr team will enter to counter and cut or slow them down is essential. The goal is to slow and disorient the enemy's advance.

Proper Use of the Gadget: Sometimes, it is worth placing 2 ADS in the same place to neutralize the maximum number of projectiles.

Return to Target: As the round progresses, slowly return to the target to protect it from the attacker's final advance.
Smoke – The Time Denier
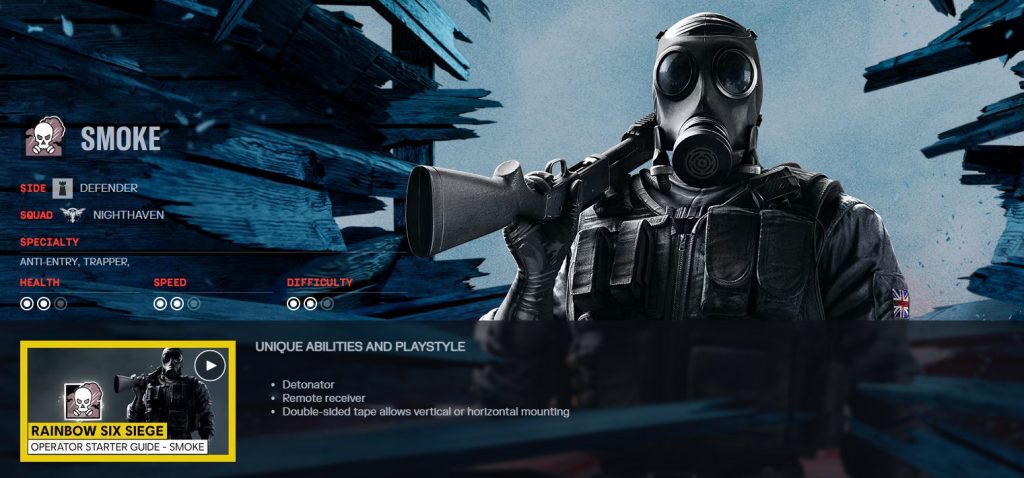
Why He’s Strong
Smoke buys time. His gas grenades block passages and force the attack to wait. At the end of the round, he can disrupt the plant by closing off the area and depriving the attackers of time.
Strengths
- End-of-Round Control: gas grenades allow you to delay the plant or completely disrupt it.
- Map Zoning: can block key entrances and narrow passageways.
- Strength on Closed Maps: beneficial on Clubhouse and Oregon, where the attack is limited in movement.
Weaknesses
- Counter Abilities: fast operatives (Ash, IQ, Hibana) can cover a long distance quickly and reduce gas damage.
- Difficulty to Use Effectively: Smoke must stay alive and in the correct position in the final seconds of the round.
- Limitations on Open Maps: controlling the zone in large spaces is difficult.
Tips
Perfect Combination: Smoke + Mira + Jäger is a classic set-up to hold the end of the round.

Choose your Weapon of Choice: The Shotgun is useful for close combat, allowing you to create the necessary turns and angles. The FMG-9 pistol is suitable for medium and long ranges.

Use of Gas Grenades: Gas grenades are best used in narrow passageways or at the entrances to the bomb site to provide a shock to attackers. They do not propagate through walls or ceilings without holes for the gas to pass through.
Mute – The Gadget Jammer
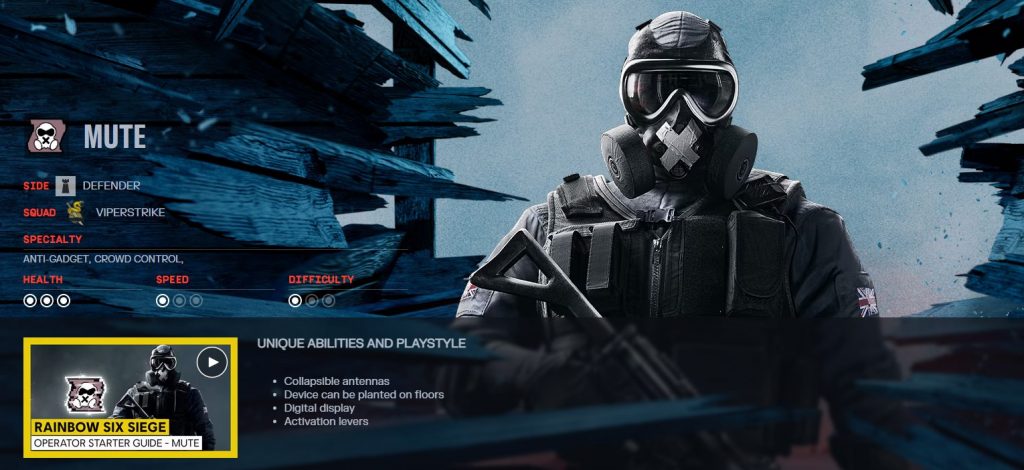
Why He’s Strong
Mute is considered a strong defender due to his combination of abilities, equipment, and tactics. His role is to neutralize the attackers’ electronic devices and prevent them from sawing through fortified walls. Mute is equipped with signal jammers, which interfere with the attackers’ electronic devices within a range of 2.25 meters.
Strengths
- Intelligence Suppression: blocks drones and surveillance devices, making it harder for the enemy to gather information.
- Intrusion Defense: his Signal Disruptor can neutralize intruders and gadgets like Breach Charge, making it difficult to destroy walls and trapdoors.
- Team Synergy: pairs well with operators who set traps or fortifications, as it deprives the enemy of gadgets to bypass these obstacles.
Weaknesses
- Low Firepower: Mute is not strong in direct duels; his effectiveness depends on the placement of Jammers and the team.
- Limited Mobility: Slowness and the need to control the Signal Disruptor can limit activity.
- Susceptible to Evasion: Opponents can use ranged drones or physically evade Signal Disruptor if poorly placed.
- Map-Dependent: Mute is less effective on large open maps.
Tips
Perfect Combination: Mute + Bandit – Mute’s Signal Disruptors block attackers’ gadgets like drones and breach charges, while Bandit’s Shock Wire electrifies reinforced walls and hatches.

Area Denial: Deploy Signal Disruptors near objective entrances, reinforced walls, and hatches to slow attacks and deter gadget-based breaches.

Supportive Defense: Use Signal Disruptors, teammates’ traps, and reinforcements to control key zones and funnel attackers into kill zones.
Frequently Asked Questions About the Best R6 Defenders
Which Defenders Are Best for Beginners in R6 Siege?
It is easier for beginners to start with operators who use simple and straightforward gadgets such as Smoke, Kapkan, and Valkyrie. These gadgets help control the space and provide valuable information for the team.
What’s the Best Defender for Holding a Site?
Clash and Smoke are great for holding the point because they can slow down the enemy and block passes with shield or smoke grenades.
Should You Always Ban Strong Attackers?
No, strong attackers should not always be banned. They can be bypassed by strategy and team coordination and should only be banned when the operator critically threatens your strategy or map.
How to Choose the Right Defender for Each Map?
Defenders that block some routes and direct enemies into narrow zones are useful for maps with many passages, such as Emerald Plains. On maps with fortified walls, operators with electric gadgets (like Bandit or Kaid) are effective at protecting walls from breaches. To control key points, operators like Mira, who can deploy Black Mirrors for one-way vision, provide a defensive advantage.